How to Protect Model Context Protocol (MCP) Servers with OpenAM and OpenIG
Introduction
Large language model (LLM) agents can perform various tasks, from writing code or texts to booking airline tickets. Agents consist of a client that interacts with the user and a server that performs the required tasks. The interaction between the client, server, and LLM occurs via the Model Context Protocol MCP.
MCP servers often have access to sensitive information, such as an internal source code repository or a customer database. Of course, not all users should have access to this data, even through an agent. To protect against unauthorized access, the Model Context Protocol specification describes the possibility of authorization based on OAuth 2.1: https://modelcontextprotocol.io/specification/2025-06-18/basic/authorization.
In this article, we will deploy a simple MCP server developed based on Spring AI and close it with the OpenIG authorization gateway. The OpenAM authentication service will be responsible for authentication.
We will use VS Code with the Copilot extension as the MCP client.
Project description
The source code for the OpenAM, OpenIG, and MCP server configuration is available at: https://github.com/OpenIdentityPlatform/openam-openig-mcp-example
The project consists of three services described in the docker-compose.yml file.
services:
  openig:
    build:
      context: ./openig-docker
      dockerfile: Dockerfile
    container_name: openig
    volumes:
      - ./openig-config:/usr/local/openig-config:ro
    ports:
      - "8081:8080"
    environment:
      CATALINA_OPTS: -Dopenig.base=/usr/local/openig-config -Dopenam=http://openam.example.org:8080/openam
    networks:
      openam_network:
        aliases:
          - openig.example.org

  openam:
    build:
      context: ./openam-docker
      dockerfile: Dockerfile
    container_name: openam
    restart: always
    hostname: openam.example.org
    ports:
      - "8080:8080"
    volumes:
      - openam-data:/usr/openam/config
    networks:
      openam_network:
        aliases:
          - openam.example.org

  time-mcp-server:
    build:
      context: ./timeserver
      dockerfile: Dockerfile
    container_name: time-mcp-server
    ports:
      - "8082:8080"
    networks:
      openam_network:
        aliases:
          - timeserver.example.org
networks:
  openam_network:
    driver: bridge

volumes:
  openam-data:
Preparing for launch
For example, the host name for OpenAM will be openam.example.org, and for OpenIG it will be openig.example.org. Open the hosts file and add the host names and IP addresses to it, for example
127.0.0.1 openam.example.org openig.example.org
On Windows systems, the hosts file is located in the C:\Windows/System32/drivers/etc/hosts directory, and on Linux or Mac OS in /etc/hosts.
MCP Server
The MCP server has a method for returning the current time in ISO 8601 format.
@Service
public class TimeService {

    @Tool(name = "current_time_service", description = "Returns current time in ISO 8601 format")
    public String getTime() {
        return  Instant.now().toString();
    }
}
For more details on creating an MCP server, please refer to the documentation or in the Spring AI blog.
Start the OpenAM, OpenIG, and MCP server Docker containers with the command:
docker compose up --build
Check the availability of the running MCP server with the command:
curl -X POST  --location  "http://localhost:8082/mcp" \
    -H "Content-Type: application/json" \
    -H "Accept: application/json, text/event-stream" \
    -d '{
  "jsonrpc": "2.0",
  "id": 0,
  "method": "initialize",
  "params": {
    "protocolVersion": "2025-06-18",
    "capabilities": {}
  }
}'

{
  "id": 0,
  "jsonrpc": "2.0",
  "result": {
    "capabilities": {
      "completions": {},
      "prompts": {
        "listChanged": false
      },
      "resources": {
        "listChanged": false,
        "subscribe": false
      },
      "tools": {
        "listChanged": false
      }
    },
    "protocolVersion": "2025-03-26",
    "serverInfo": {
      "name": "time-server-mcp",
      "version": "0.0.1"
    }
  }
}
Let’s check the availability of tools in the MCP server:
curl -X POST  --location  "http://localhost:8082/mcp" \
    -H "Content-Type: application/json" \
    -H "Accept: application/json, text/event-stream" \
    -d '{
  "jsonrpc": "2.0",
  "id": 1,
  "method": "tools/list",
  "params": {}
}'

{
  "jsonrpc": "2.0",
  "id": 1,
  "result": {
    "tools": [
      {
        "name": "current_time_service",
        "description": "Returns current time in ISO 8601 format",
        "inputSchema": {
          "type": "object",
          "properties": {},
          "required": [],
          "additionalProperties": false
        }
      }
    ]
  }
}
Configuring OpenAM
OpenAM will be responsible for user authentication, issuing OAuth 2 access_token tokens, and validating them.
If you have not yet configured OpenAM, perform a quick setup by running the command:
docker exec -w '/usr/openam/ssoconfiguratortools' openam bash -c \
'echo "ACCEPT_LICENSES=true
SERVER_URL=http://openam.example.org:8080
DEPLOYMENT_URI=/$OPENAM_PATH
BASE_DIR=$OPENAM_DATA_DIR
locale=en_US
PLATFORM_LOCALE=en_US
AM_ENC_KEY=
ADMIN_PWD=passw0rd
AMLDAPUSERPASSWD=p@passw0rd
COOKIE_DOMAIN=example.org
ACCEPT_LICENSES=true
DATA_STORE=embedded
DIRECTORY_SSL=SIMPLE
DIRECTORY_SERVER=openam.example.org
DIRECTORY_PORT=50389
DIRECTORY_ADMIN_PORT=4444
DIRECTORY_JMX_PORT=1689
ROOT_SUFFIX=dc=openam,dc=example,dc=org
DS_DIRMGRDN=cn=Directory Manager
DS_DIRMGRPASSWD=passw0rd" > conf.file && java -jar openam-configurator-tool*.jar --file conf.file'
Configuring OAuth 2 in OpenAM
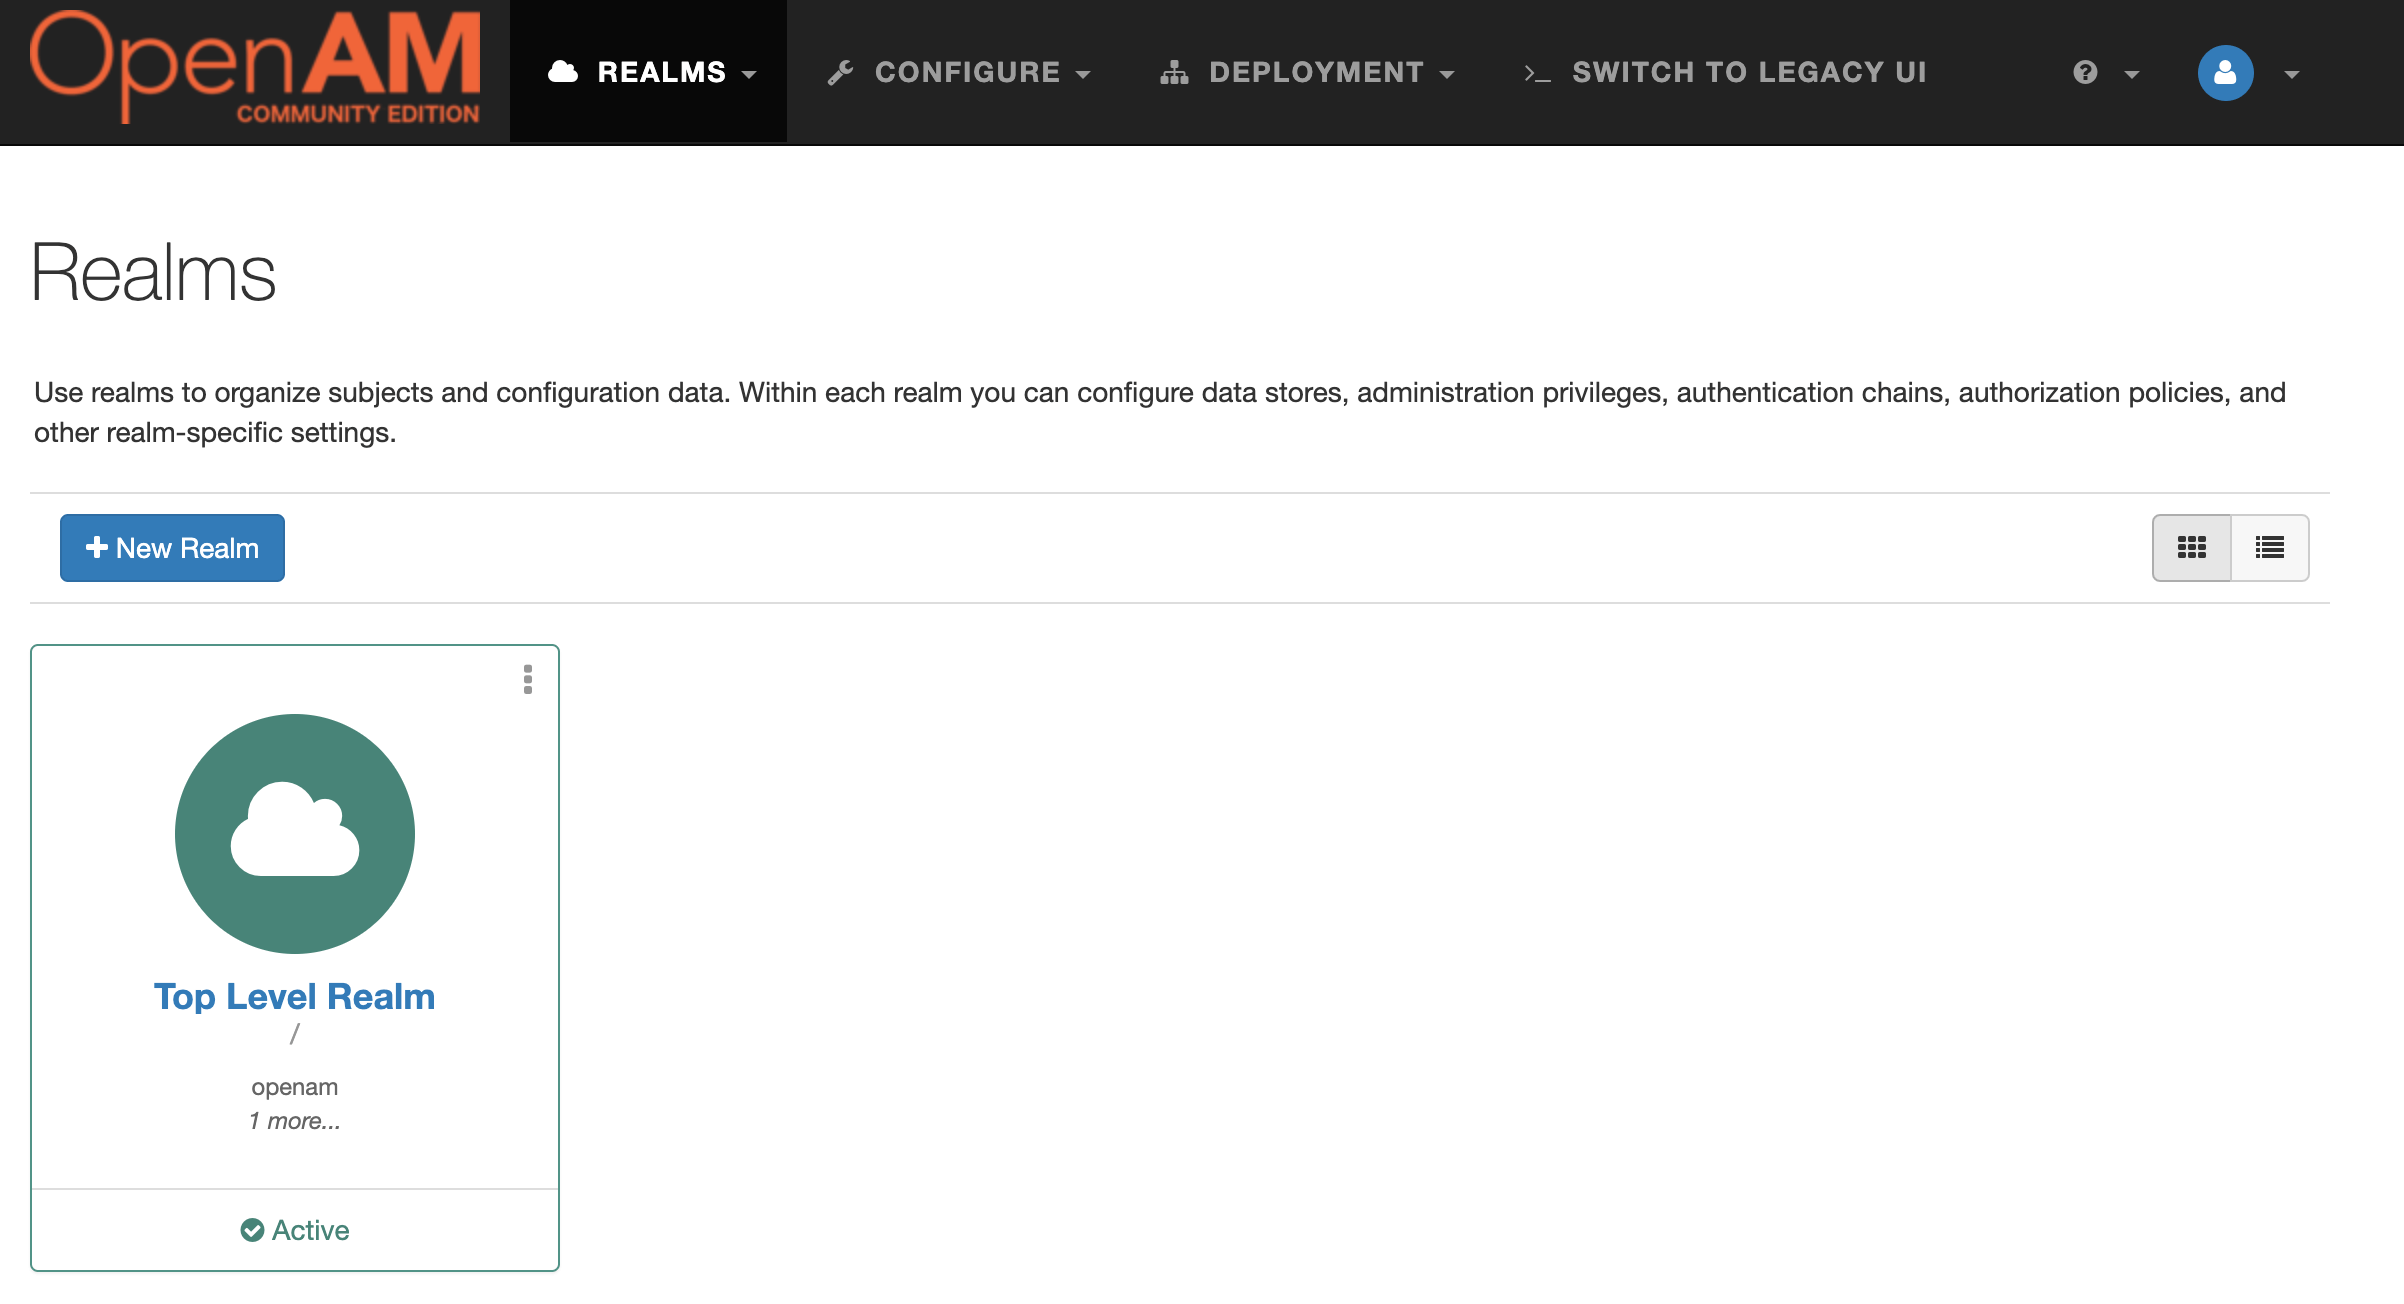
Open the OpenAM console at http://openam.example.org:8080/openam/console. Enter the administrator login and password in the User Name and Password fields. In this case, they will be amadmin and passw0rd, respectively.
Select Top Level Realm from the Realm list.
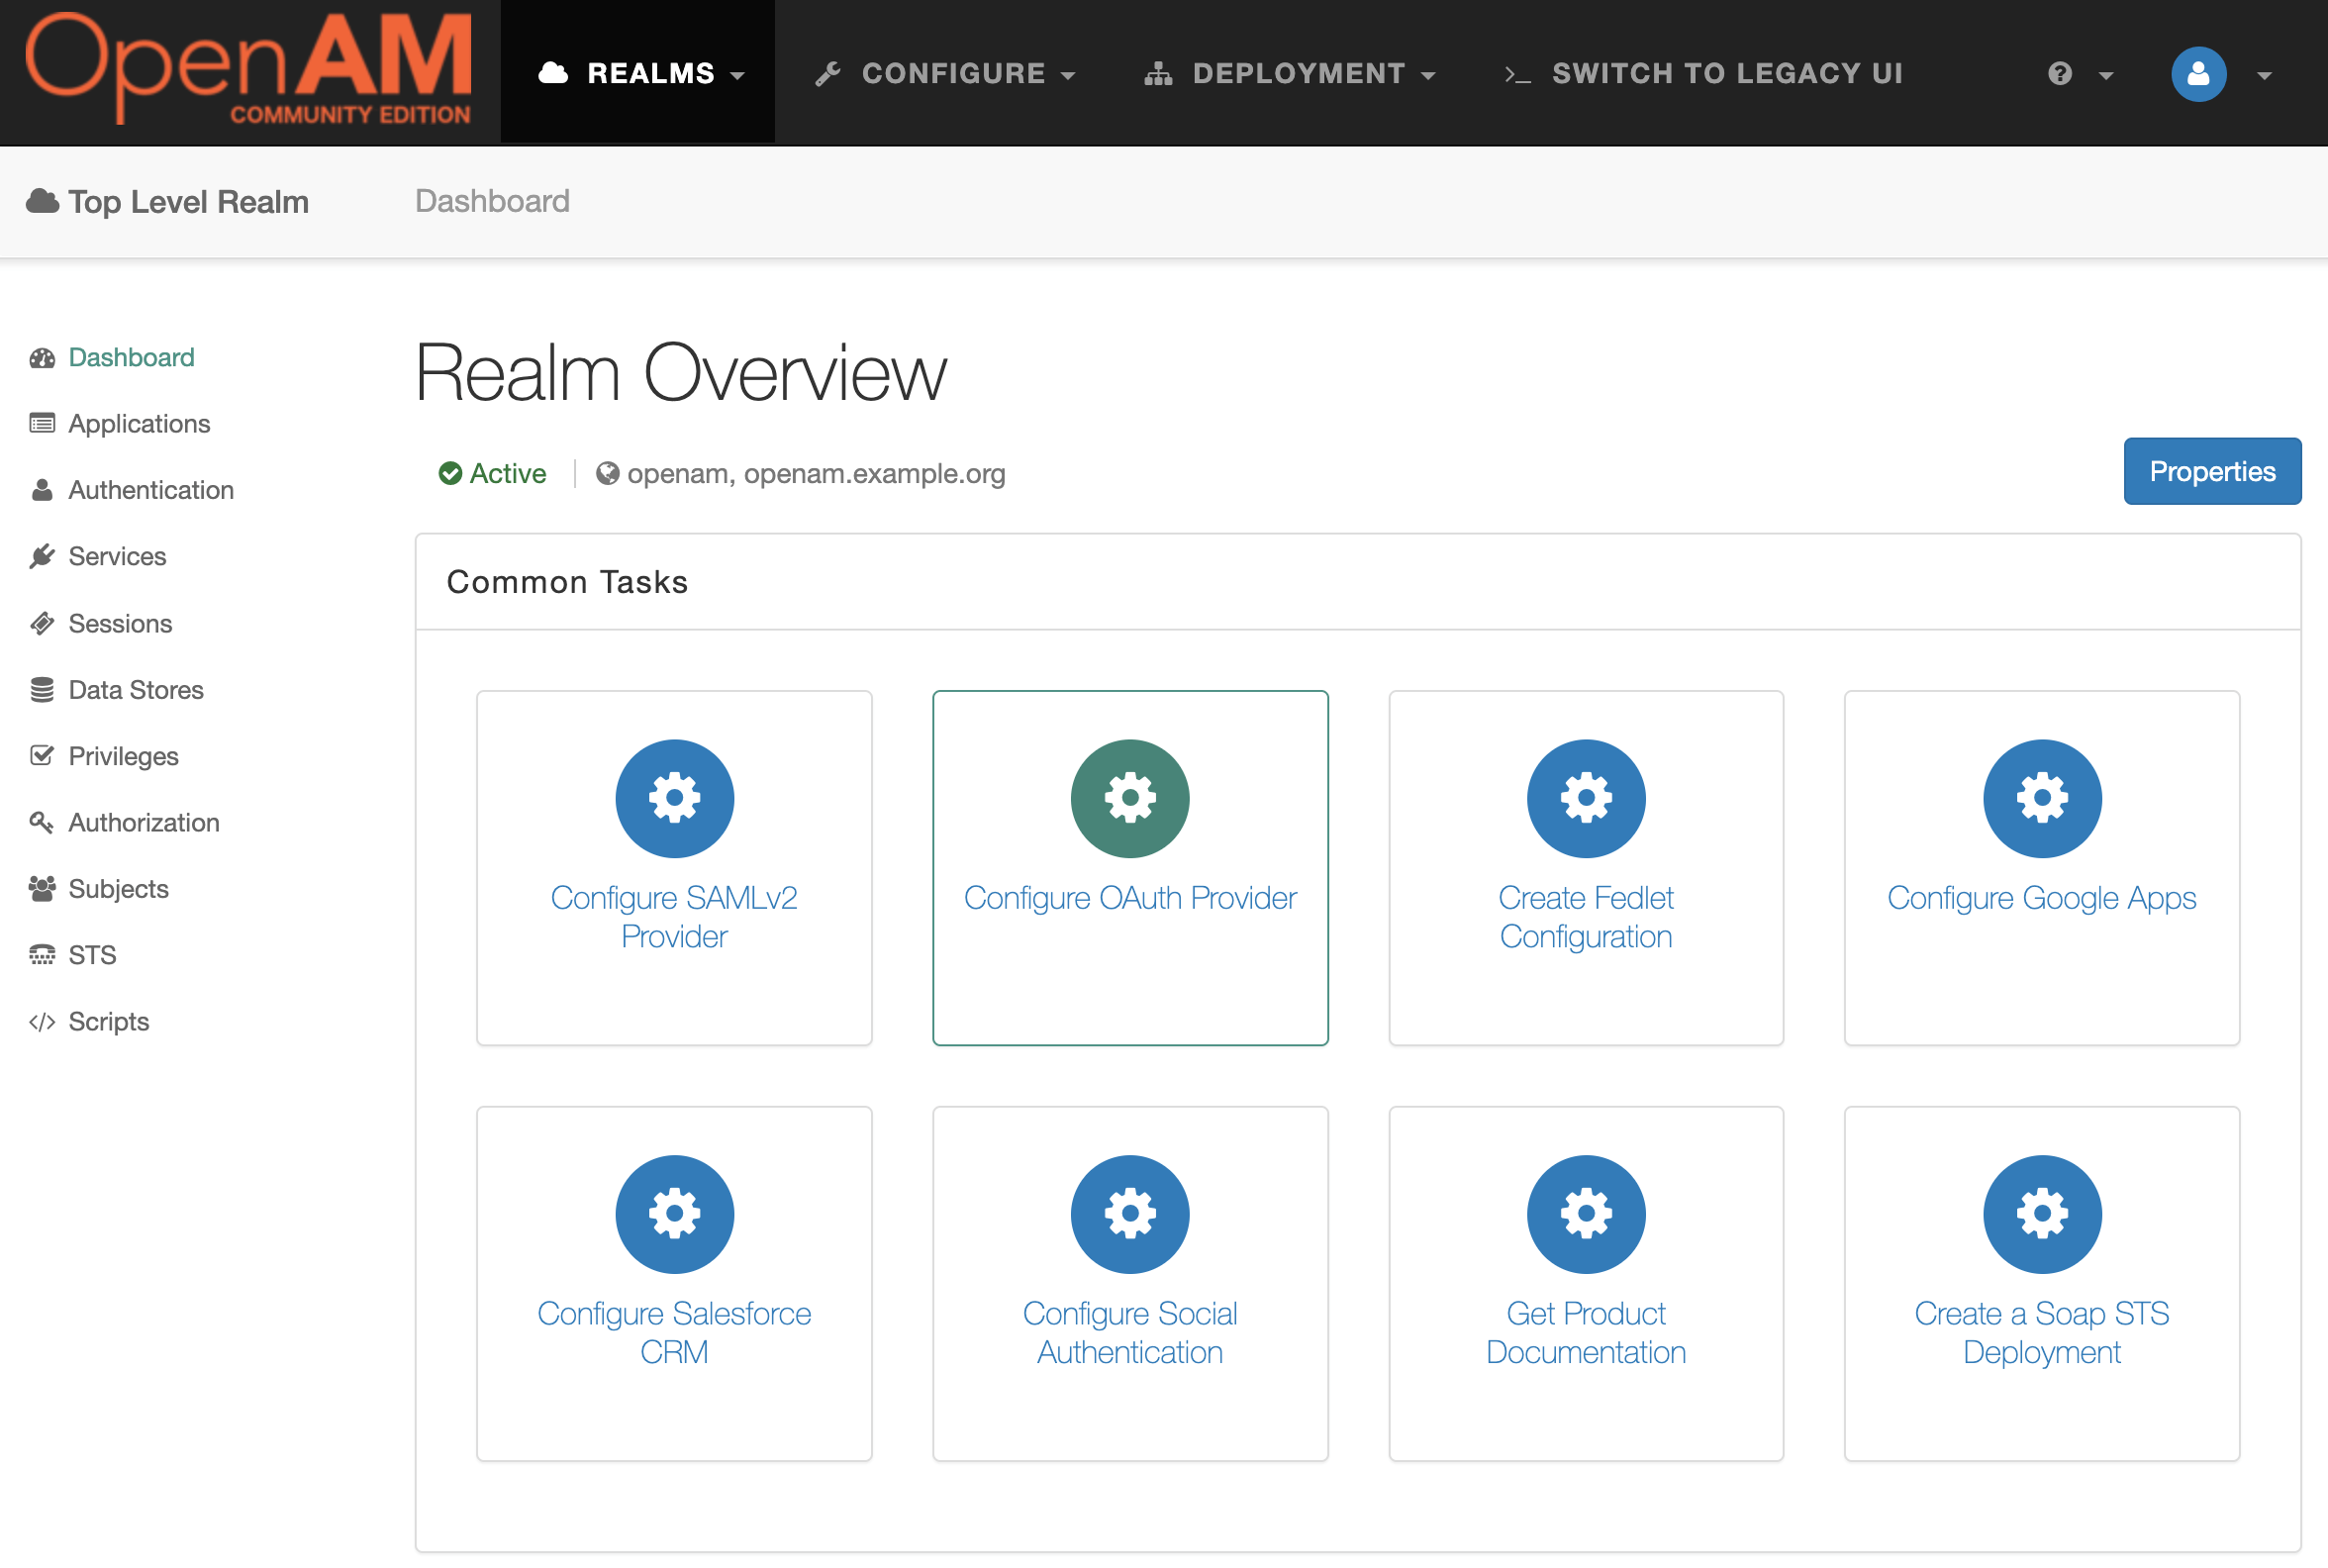
Next, Configure OAuth Provider.
Then select Configure OAuth 2.0.
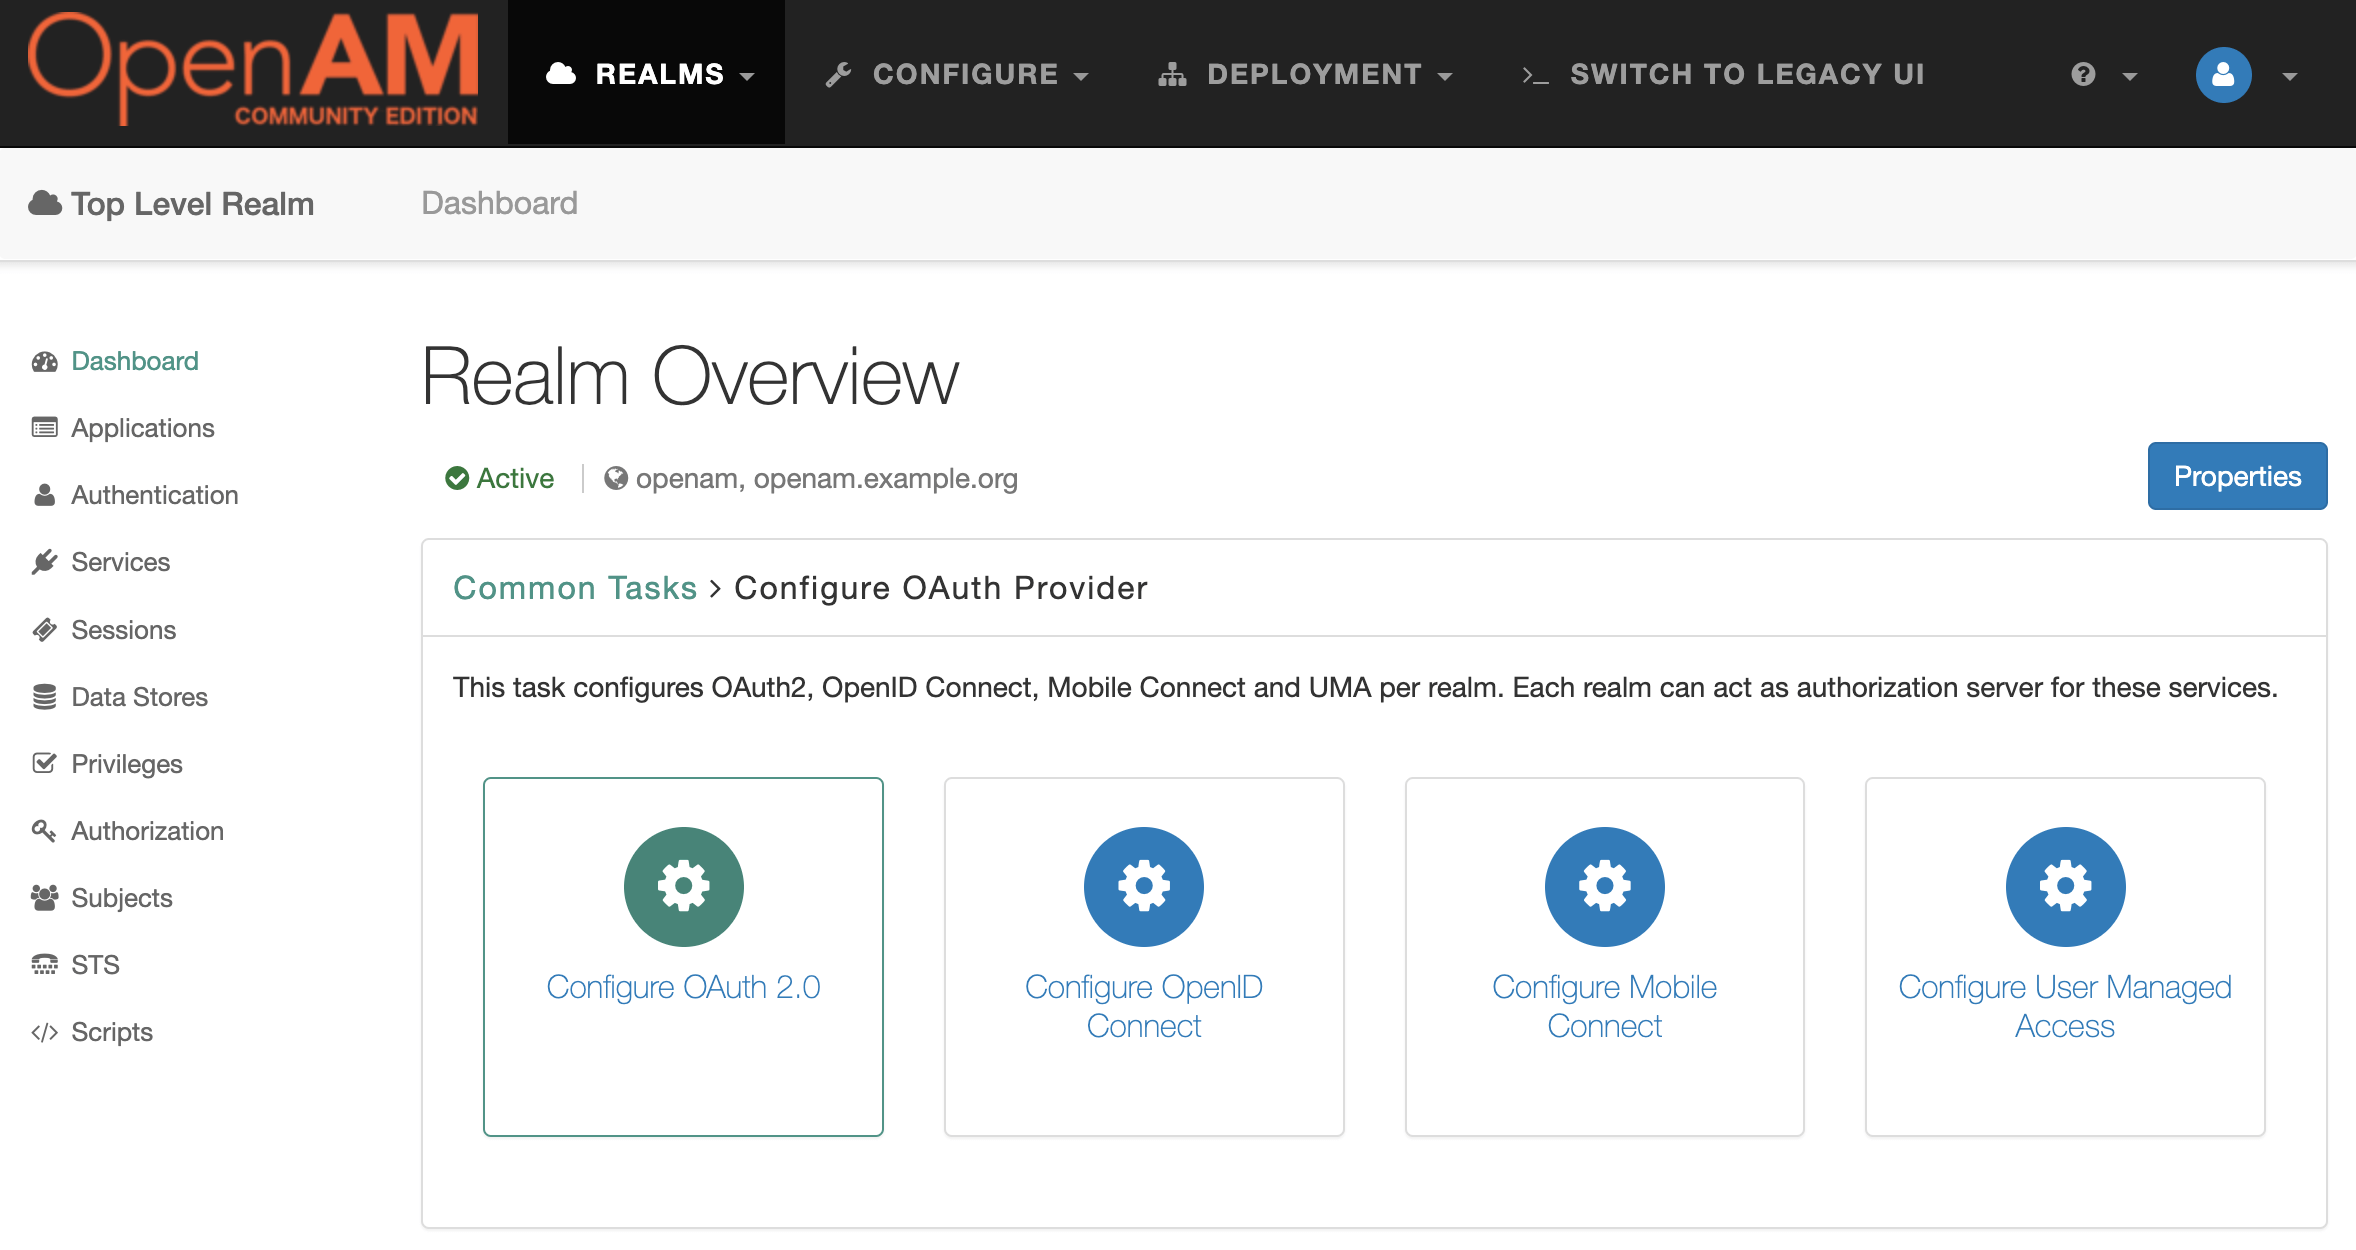
In the form that opens, you can leave the default settings unchanged. Click Create.

In the Realm settings, select Services from the menu on the left and open the OAuth2 Provider settings.
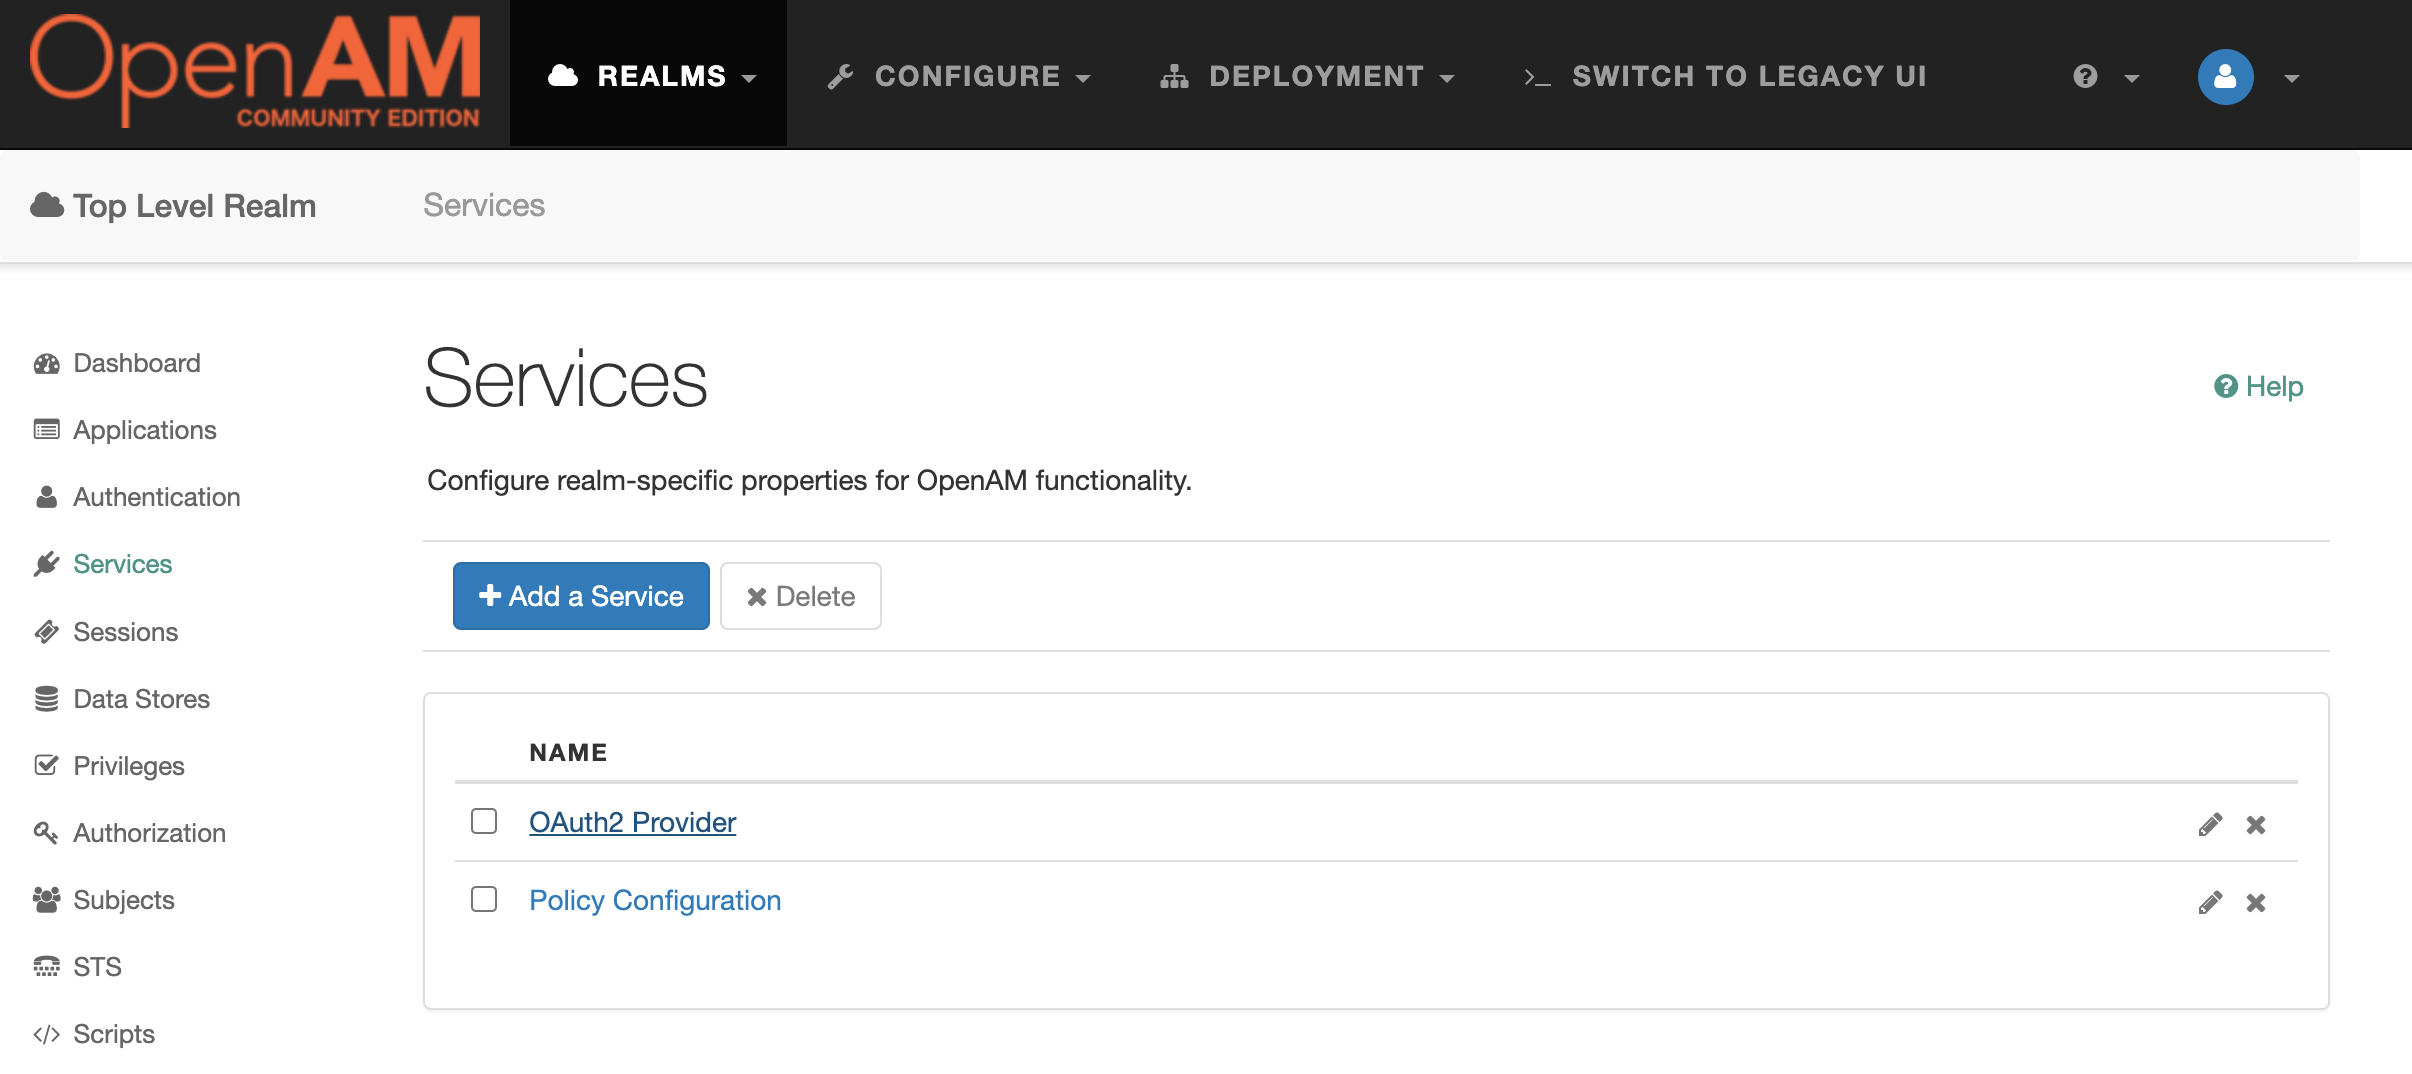
Add the value profile to the Scopes and Default Clients Scopes settings. This scope will allow you to obtain basic information about the user. Enable the Issue Refresh Tokens and Issue Refresh Tokens on Refreshing Access Tokens options. Also, allow dynamic client registration by enabling the Allow Open Dynamic Client Registration option. This will allow the MCP client (VS Code) to automatically register with OpenAM without requiring any additional action from the user.
For more information on configuring OpenAM, please refer to the documentation.
Configuring OpenIG
OpenIG will be responsible for authorizing requests. It will check the validity of access_token issued by OpenAM and proxy requests to OpenAM and the MCP server.
Now let’s check the OpenIG route configuration for proxying requests.
Proxying requests to the MCP server.
The route will receive the access_token issued by OpenAM, passed in the Authorization header. If the access_token is valid, it will pass the request to the MCP server and return a response. If the access_token is invalid, OpenIG will return HTTP status 401.
openig-config/config/routes/10-mcp.json
{
   "name": "${matches(request.uri.path, '^/mcp')}",
   "condition": "${matches(request.uri.path, '^/mcp')}",
   "monitor": true,
   "timer": true,
   "handler": {
      "type": "Chain",
      "config": {
         "filters": [
            {
               "type": "OAuth2ResourceServerFilter",
               "config": {
                  "requireHttps": false,
                  "providerHandler": "ClientHandler",
                  "scopes": [
                     "profile"
                  ],
                  "tokenInfoEndpoint": "${system['openam'].concat('/oauth2/tokeninfo')}"
               }
            },
            {
               "type": "ConditionEnforcementFilter",
               "config": {
                  "condition": "${not empty contexts['oauth2']}",
                  "failureHandler": "RequireAuth"
               }
            }
         ],
         "handler": "EndpointHandler"
      }
   },
   "heap": [
      {
         "name": "RequireAuth",
         "type": "StaticResponseHandler",
         "config": {
            "status": 401,
            "headers": {
               "WWW-Authenticate": [
                  "Bearer realm=\"OpenIG\""
               ]
            },
            "entity": "Authentication required"
         }
      },
      {
         "name": "EndpointHandler",
         "type": "DispatchHandler",
         "config": {
            "bindings": [
               {
                  "handler": "ClientHandler",
                  "baseURI": "http://time-mcp-server:8080/mcp"
               }
            ]
         }
      }
   ]
}
The route consists of two filters. The first filter, OAuth2ResourceServerFilter, validates the access_token and, if successful, writes the data received from the access_token to the request context. The second filter, ConditionEnforcementFilter, checks the context and, if successful, forwards the request to the MCP server. Otherwise, it returns HTTP status 401.
Let’s make an unauthorized request to the MCP server and verify that OpenIG requires authorization.
curl -v http://openig.example.org:8081/mcp
*   Trying 127.0.0.1:8081...
* Connected to openig.example.org (127.0.0.1) port 8081 (#0)
> GET /mcp HTTP/1.1
> Host: openig.example.org:8081
> User-Agent: curl/8.1.2
> Accept: */*
>
< HTTP/1.1 401
< WWW-Authenticate: Bearer realm="OpenIG"
< Content-Length: 0
< Date: Mon, 22 Sep 2025 08:00:48 GMT
Proxying to .well-known endpoints
According to the MCP specification, the client obtains data about the authorization server from endpoints located at the URL <MCP server host>/.well-known/*. The endpoints are located on OpenAM at the URL <OpenAM host>/openam/.well-known. The route for forwarding HTTP requests to MCP on OpenAM is as follows:
openig-config/config/routes/20-well-known.json
{
  "name": "${matches(request.uri.path, '^/.well-known/.*}",
  "condition": "${matches(request.uri.path, '^/.well-known/.*')}",
  "monitor": true,
  "timer": true,
  "handler": {
    "type": "Chain",
    "config": {
      "filters": [
        {
          "type": "HeaderFilter",
          "config": {
            "messageType": "REQUEST",
            "add": {
              "Host": [
                "${matchingGroups(system['openam'],\"(http|https):\/\/(.[^\/]*)\")[2]}"
              ]
            },
            "remove": [
              "Host",
              "Origin"
            ]
          }
        }
      ],
      "handler": "EndpointHandler"
    }
  },
  "heap": [
    {
      "name": "EndpointHandler",
      "type": "DispatchHandler",
      "config": {
        "bindings": [
          {
            "expression": "${matches(request.uri.path, '^/.well-known/openid-configuration$')}",
            "handler": "ClientHandler",
            "baseURI": "${system['openam'].concat('/oauth2/.well-known/openid-configuration')}"
          }
        ]
      }
    }
  ]
}
The HeaderFilter filter adds the OpenAM Host HTTP header specified in the openam system parameter in the docker-compose.yaml file, and the EndpointHandler handler forwards the request to the /openam/.well-known/openid-configuration endpoint deployed in the openam Docker container.
Let’s check the endpoint operation:
 curl -v http://openig.example.org:8081/.well-known/openid-configuration

 {
   "acr_values_supported" : [],
   "authorization_endpoint" : "http://openam.example.org:8080/openam/oauth2/authorize",
   "check_session_iframe" : "http://openam.example.org:8080/openam/oauth2/connect/checkSession",
   "claims_parameter_supported" : false,
   "claims_supported" : [],
   "device_authorization_endpoint" : "http://openam.example.org:8080/openam/oauth2/device/code",
   "end_session_endpoint" : "http://openam.example.org:8080/openam/oauth2/connect/endSession",
   "id_token_encryption_alg_values_supported" : [
      "RSA-OAEP",
      "RSA-OAEP-256",
      "A128KW",
      "RSA1_5",
      "A256KW",
      "dir",
      "A192KW"
   ],
   "id_token_encryption_enc_values_supported" : [
      "A256GCM",
      "A192GCM",
      "A128GCM",
      "A128CBC-HS256",
      "A192CBC-HS384",
      "A256CBC-HS512"
   ],
   "id_token_signing_alg_values_supported" : [
      "ES384",
      "HS256",
      "HS512",
      "ES256",
      "RS256",
      "HS384",
      "ES512"
   ],
   "issuer" : "http://openam.example.org:8080/openam/oauth2",
   "jwks_uri" : "http://openam.example.org:8080/openam/oauth2/connect/jwk_uri",
   "registration_endpoint" : "http://openam.example.org:8080/openam/oauth2/connect/register",
   "response_types_supported" : [
      "code",
      "code token",
      "token"
   ],
   "scopes_supported" : [],
   "subject_types_supported" : [
      "public"
   ],
   "token_endpoint" : "http://openam.example.org:8080/openam/oauth2/access_token",
   "token_endpoint_auth_methods_supported" : [
      "client_secret_post",
      "private_key_jwt",
      "none",
      "client_secret_basic"
   ],
   "userinfo_endpoint" : "http://openam.example.org:8080/openam/oauth2/userinfo",
   "version" : "3.0"
}
For more details on configuring OpenIG, please refer to the documentation.
Configuring VS Code to work with the MCP server
You must have the extensions for working with Copilot, GitHub Copilot, and GitHub Copilot Chat installed and configured. Instructions on how to do this are available at: https://code.visualstudio.com/docs/copilot/setup.
Add the MCP server to VS Code.
For example, to add MCP to your workspace, create a file named mcp.json in the .vscode directory of your workspace:
mcp.json:
{
  "servers": {
    "time-mcp-server": {
      "type": "http",
      "url": "http://openig.example.org:8081/mcp"
    }
  }
}
Other ways to add an MCP server are described at: https://code.visualstudio.com/docs/copilot/customization/mcp-servers#_add-an-mcp-server
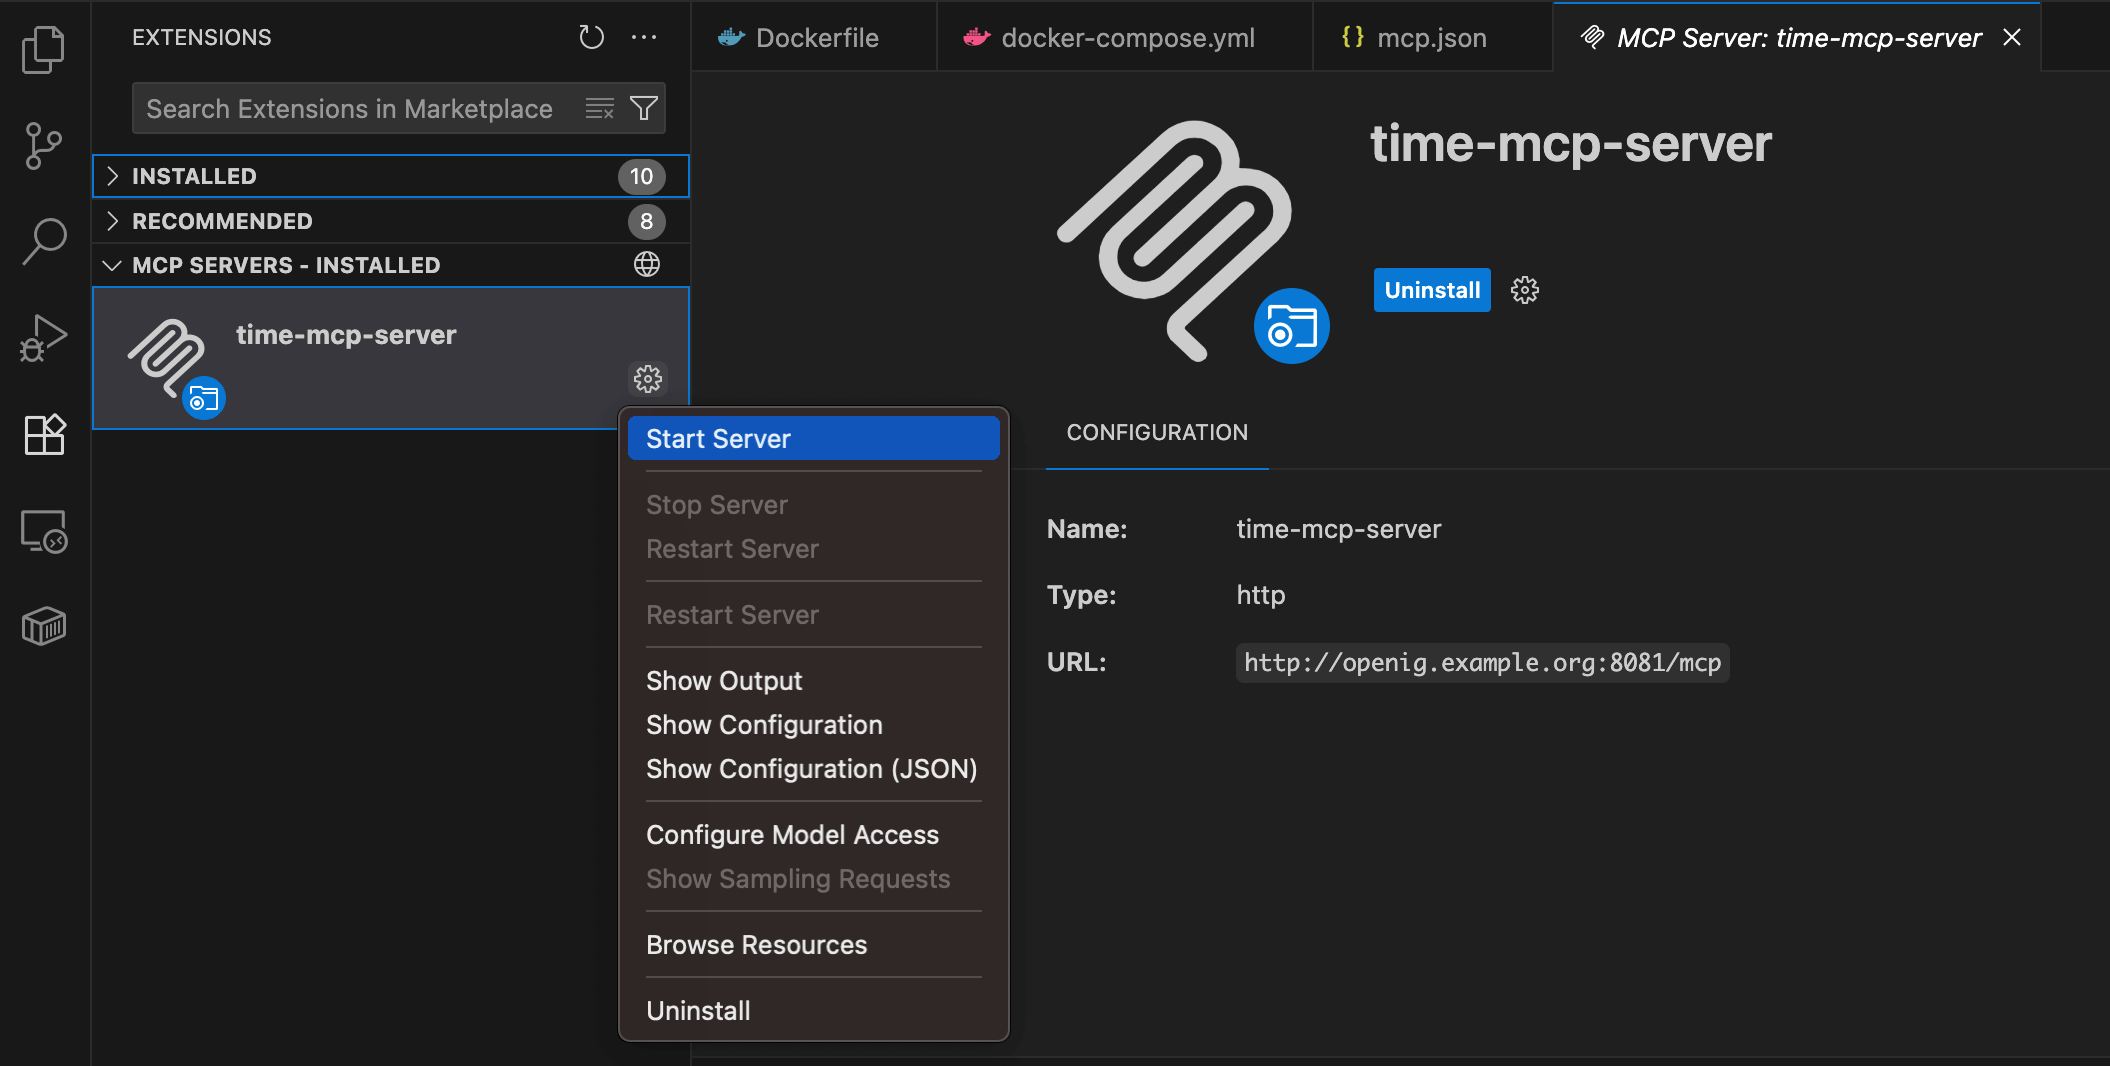
In the VS Code extensions list, click on the settings for the added MCP server and select Start Server from the menu that appears.
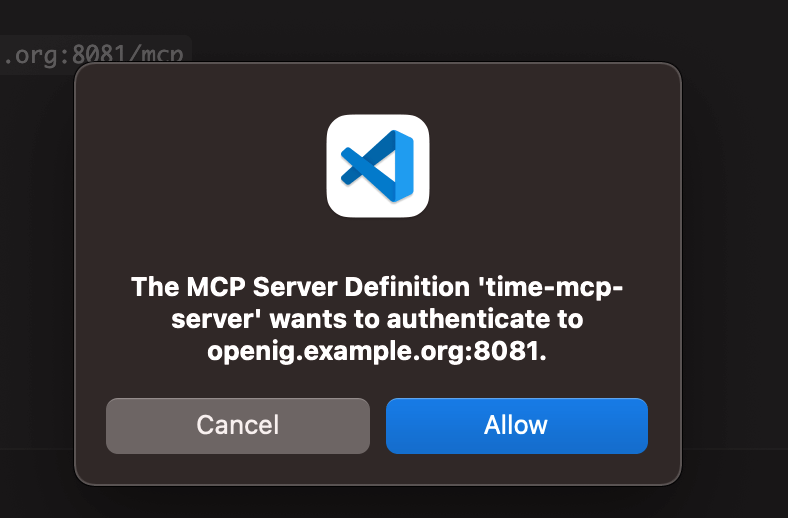
Allow the MCP server to authenticate on the OpenIG host
A browser window with authentication will open.
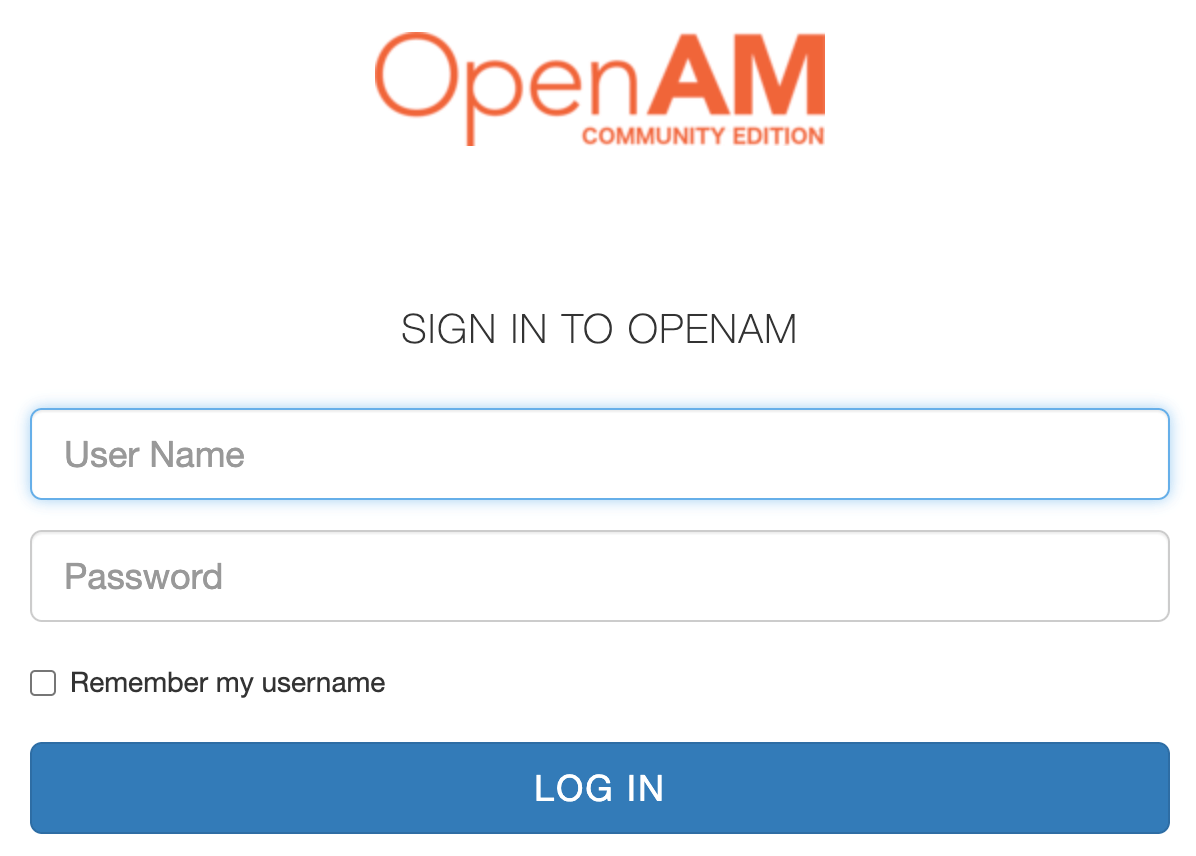
Enter the login and password for the test user: demo and changeit, respectively
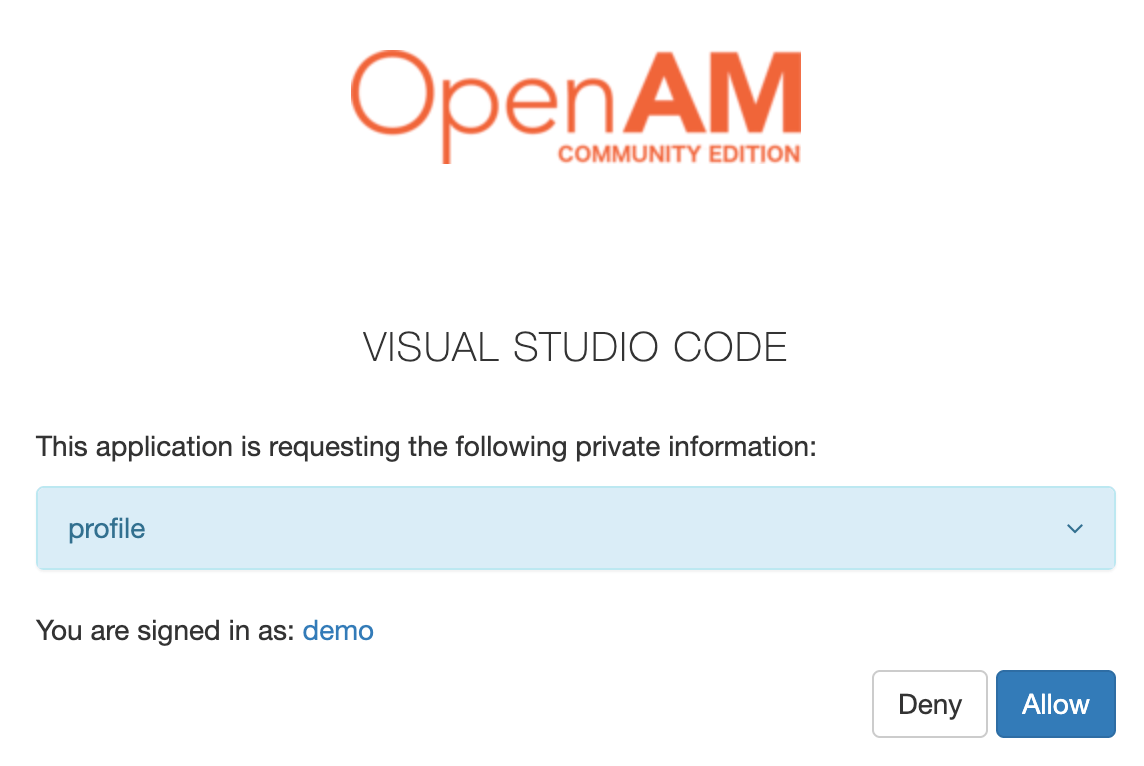
Confirm access to data for the Visual Studio Code application. If you want to disable the data access confirmation dialog, enable Allow clients to skip consent in the OAuth2 Provider settings in OpenAM.
After confirming, you will be redirected back to VS Code.
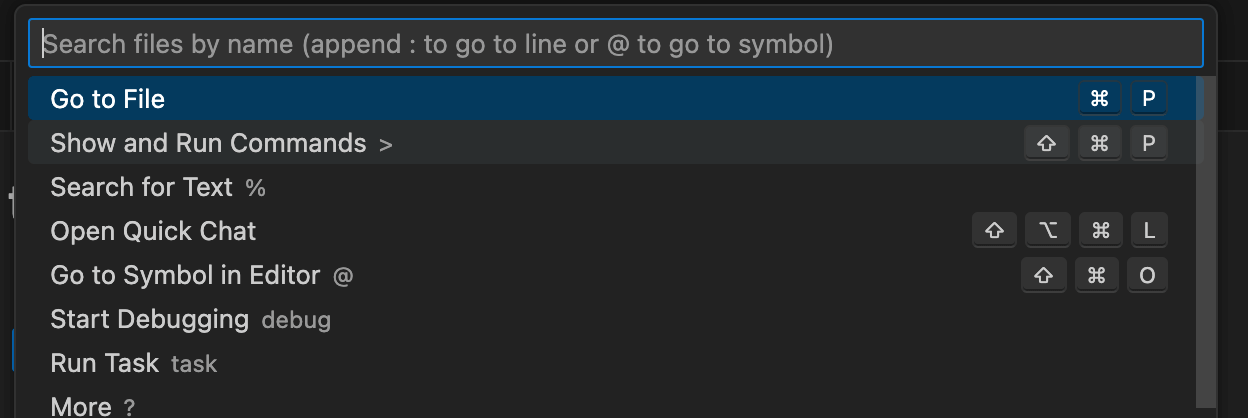
Open the chat with GitHub Copilot. To do this, select Show and Run Commands from the command menu:
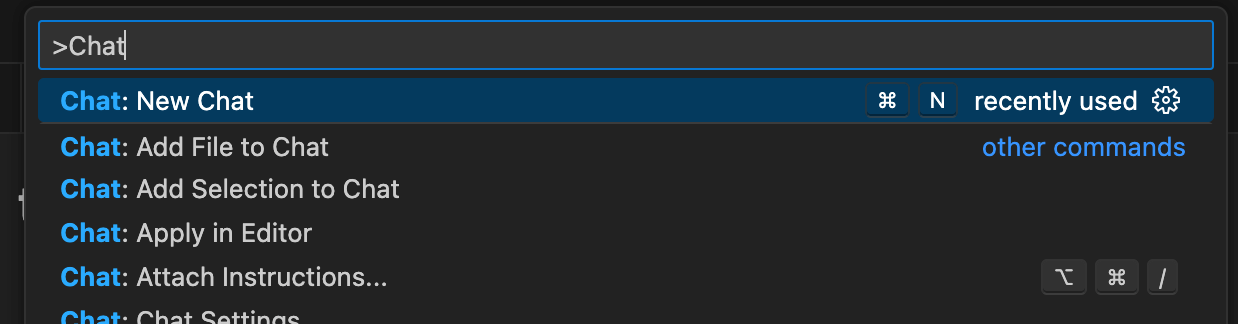
Then select Chat: New Chat:
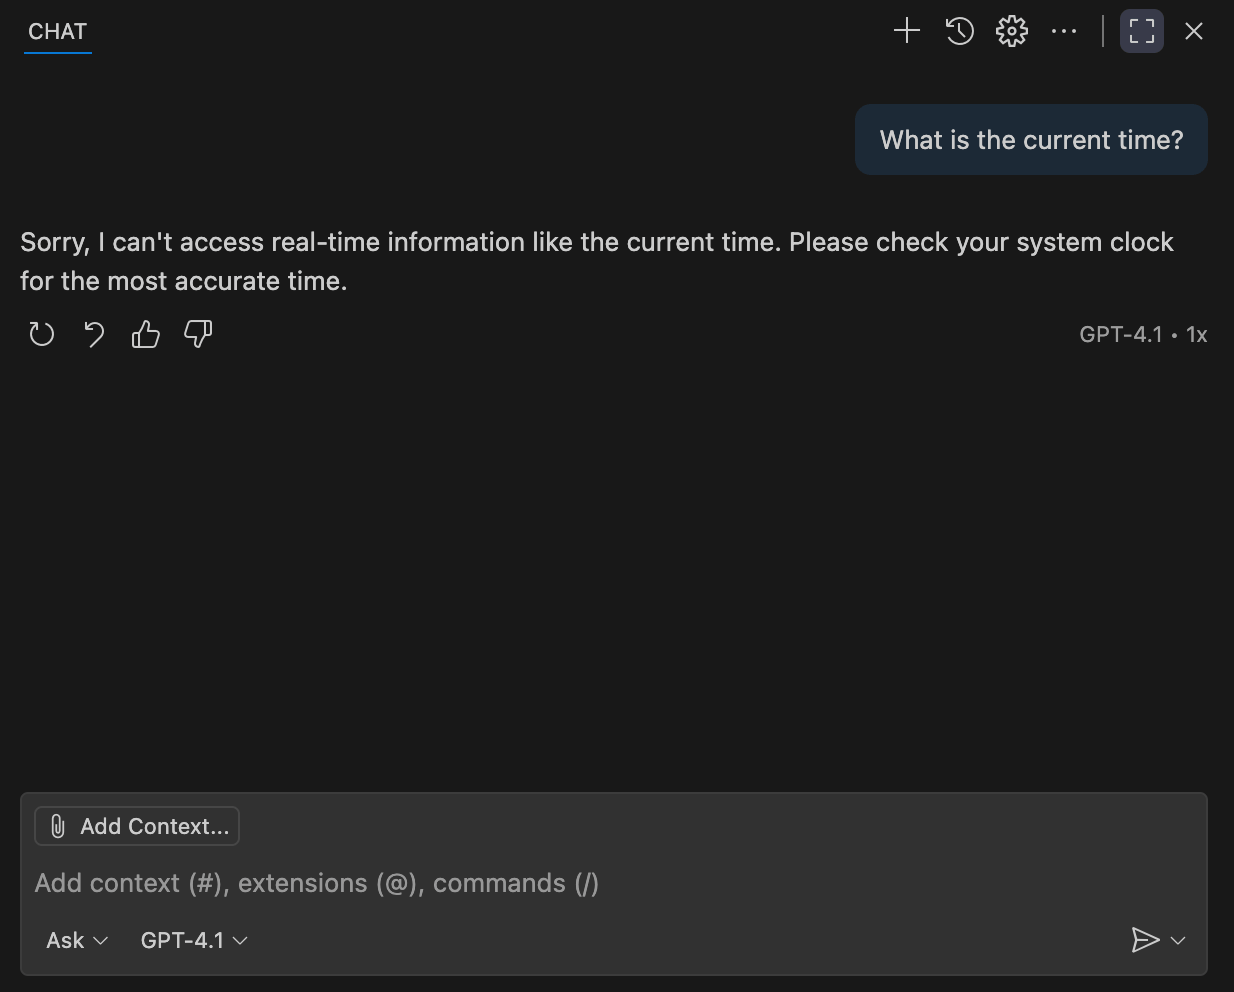
In the chat window that opens, enter the question: What is the current time? . Copilot will respond that it does not have access to the current time:
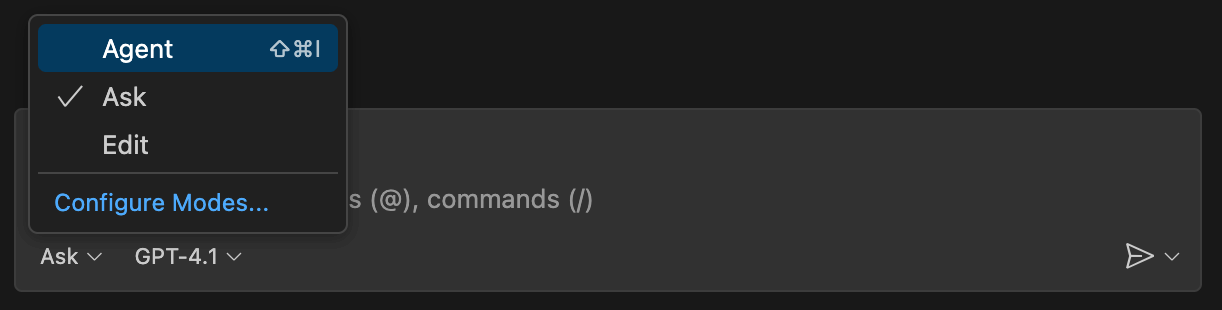
Now switch the chat to Agent mode at the bottom and ask the question again:
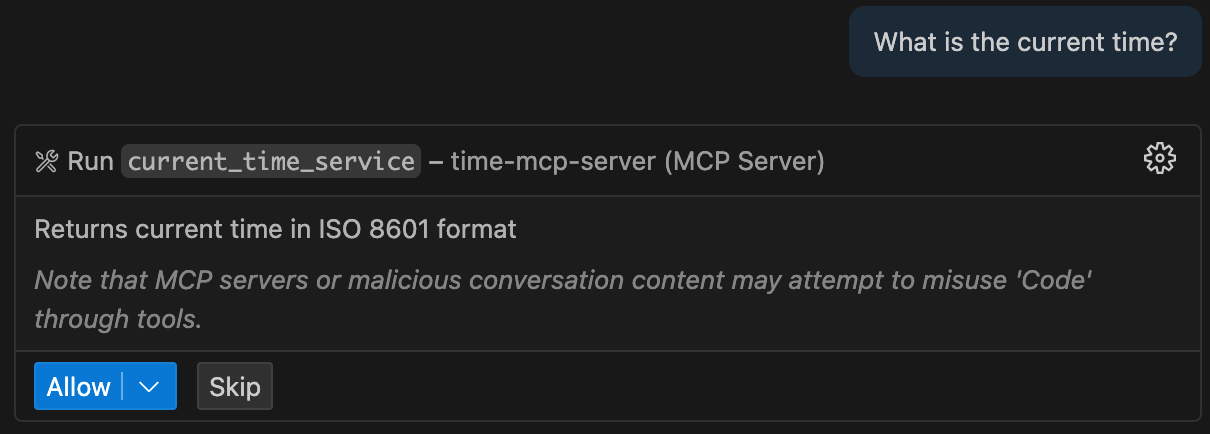
Allow access to the function for obtaining the current time in the MCP server:
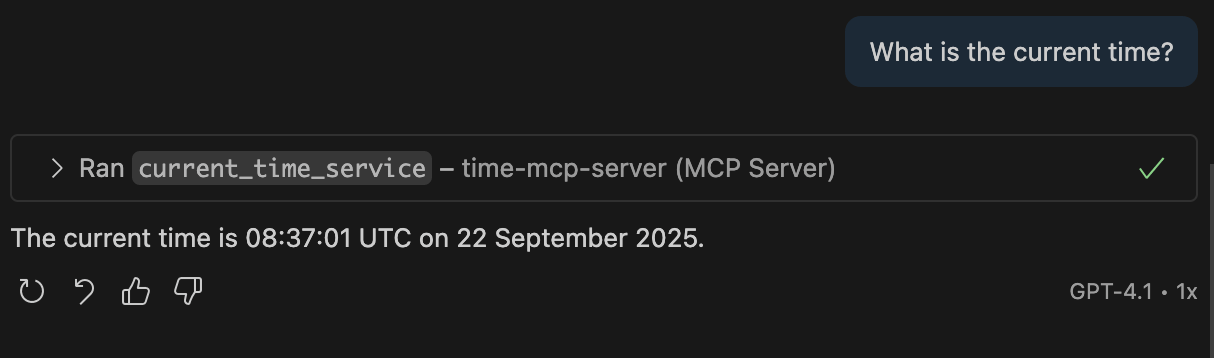
Copilot will receive information about the current time from the MCP server and return the correct response.
Conclusion
In this article, we demonstrated the practical integration of OpenAM and OpenIG to provide secure access to the MCP server based on OAuth 2.1. OpenAM acts as a reliable authentication and authorization center, issuing and validating tokens, while OpenIG filters requests, blocking unauthorized access and proxying traffic to protected resources. This approach minimizes the risk of sensitive data leaks - from internal repositories to customer databases.
Download the source code from GitHub, test the configuration, and integrate it into your projects. For in-depth study, refer to the official documentation: OpenAM and OpenIG.