REST API Security: OAuth OIDC Authorization, OpenAPI Swagger Compliance Validation, Service Level Monitoring
What This Article Is About
This article provides a step-by-step guide to securing a REST service using the open-source OpenIG gateway. In this article, we will do the following:
- Deploy the Spring Pet Clinic demo REST service.
- Secure the service with the OpenIG gateway:
For demonstration purposes, we will deploy all services in Docker containers using Docker Compose.
What Threats does this Solution Address?
Without validation at the gateway, the backend receives any data from the client and returns any data from its responses to the client. This opens up several attack vectors:
- Mass assignment — an attacker passes fields that are not specified
(
isAdmin: true,role: superuser), and the backend may process them if it is not protected at the code level. - Injection via non-standard fields — there is no validation of types or formats, meaning strings can be passed where a number is expected, or special characters can be inserted into fields without pattern restrictions.
- Data leakage via responses — the backend may accidentally return fields that are not included in the contract (internal identifiers, password hashes, operational metadata). Response validation detects this.
- Exploitation of undocumented endpoints — requests to paths not specified in the contract will be rejected by the gateway before reaching the backend.
Moving these checks to the gateway offloads the backend from security logic and provides a single point of control for all services behind the gateway.
You can download the full source code for this solution at the following link: openig-openam-openapi-example
Preparation
Create a docker-compose.yml file and add the Spring Pet Clinic service to it:
services:
  petclinic:
    image: springcommunity/spring-petclinic-rest:4.0.2
    ports:
      - 9966:9966
Start the container using the docker compose up command
Once the service has started, verify that it is running:
$ curl http://localhost:9966/petclinic/actuator/health
{"groups":["liveness","readiness"],"status":"UP"}
Download the OpenAPI specification for the service; we’ll need it later to validate requests and responses:
curl -v http://localhost:9966/petclinic/v3/api-docs.yaml -H "Host: petclinic:9966" | grep -v extensions > petclinic.yml
OpenIG Setup
Add OpenIG to the list of services in docker-compose.yml and close the port for the petclinic service. Now all requests to it will go through OpenIG.
services:
  petclinic:
    image: springcommunity/spring-petclinic-rest:4.0.2
  openig:
    image: openidentityplatform/openig:latest
    ports:
      - 8081:8080
    volumes:
      - ./openig/config:/usr/local/openig-config:ro
    environment:
      CATALINA_OPTS: -Dopenig.base=/usr/local/openig-config -Dpetclinic=http://petclinic:9966
In the directory containing the docker-compose.yml file, create a directory named openapi, and within it, create two directories: config and openapi.
In the config directory, create two files, admin.json and config.json, with the following content:
admin.json
{
  "prefix" : "openig",
  "mode": "PRODUCTION"
}
config.json
{
  "heap": [
  ],
  "handler": {
    "type": "Chain",
    "config": {
      "filters": [
      ],
      "handler": {
        "type": "Router",
        "name": "_router",
        "capture": "all",
        "config": {
            "directory": "${system['openig.base']}/config/routes",
          "openApiValidation": {
            "enabled": true,
            "failOnResponseViolation": false
          }
        }
      }
    }
  }
}
Note: The
directoryparameter in theRouterobject’s configuration specifies the location of the route files.
Configuring a Route to the Pet Clinic Service
Now let’s add a route to the Spring Pet Clinic service
In the config directory, create a routes directory and add the OpenAPI specification file petclinic.yml to it.
Run OpenIG and verify that the route works:
docker compose up
curl -v  --location "http://localhost:8081/petclinic/api/pets"
* Host localhost:8081 was resolved.
* IPv6: ::1
* IPv4: 127.0.0.1
*   Trying [::1]:8081...
* Connected to localhost (::1) port 8081
> GET /petclinic/api/pets HTTP/1.1
> Host: localhost:8081
> User-Agent: curl/8.7.1
> Accept: */*
>
* Request completely sent off
< HTTP/1.1 200
< Cache-Control: no-cache, no-store, max-age=0, must-revalidate
< Date: Mon, 23 Mar 2026 12:29:33 GMT
< Expires: 0
< Pragma: no-cache
< Vary: Origin
< Vary: Access-Control-Request-Method
< Vary: Access-Control-Request-Headers
< X-Content-Type-Options: nosniff
< X-Frame-Options: SAMEORIGIN
< X-XSS-Protection: 0
< Content-Type: application/json
< Transfer-Encoding: chunked
<
* Connection #0 to host localhost left intact
[{"name":"Leo","birthDate":"2010-09-07","type":{"name":"cat","id":1},"id":1,"visits":[],"ownerId":1}
....
Configuring Authentication
Deploy the OpenAM authentication server.
Add the openam service to docker-compose.yml
services:
...

  openam:
    image: openidentityplatform/openam
    container_name: openam
    restart: always
    hostname: openam.example.org
    ports:
      - "8080:8080"
    volumes:
      - openam-data:/usr/openam/config

volumes:
  openam-data:
Start the OpenAM service
docker compose up openam
Add the hostname for OpenAM to the hosts file. On Windows systems, the hosts file is located in the C:\\Windows/System32/drivers/etc/hosts directory; on Linux or Mac OS, it is located in /etc/hosts.
127.0.0.1 openam.example.org
Perform the initial OpenAM configuration:
docker exec -w '/usr/openam/ssoconfiguratortools' openam bash -c \
'echo "ACCEPT_LICENSES=true
SERVER_URL=http://openam.example.org:8080
DEPLOYMENT_URI=/$OPENAM_PATH
BASE_DIR=$OPENAM_DATA_DIR
locale=en_US
PLATFORM_LOCALE=en_US
AM_ENC_KEY=
ADMIN_PWD=passw0rd
AMLDAPUSERPASSWD=p@passw0rd
COOKIE_DOMAIN=example.org
ACCEPT_LICENSES=true
DATA_STORE=embedded
DIRECTORY_SSL=SIMPLE
DIRECTORY_SERVER=openam.example.org
DIRECTORY_PORT=50389
DIRECTORY_ADMIN_PORT=4444
DIRECTORY_JMX_PORT=1689
ROOT_SUFFIX=dc=openam,dc=example,dc=org
DS_DIRMGRDN=cn=Directory Manager
DS_DIRMGRPASSWD=passw0rd" > conf.file && java -jar openam-configurator-tool*.jar --file conf.file'
Wait for the command to finish.
Open the OpenAM console at http://openam.example.org:8080/openam/console. In the User Name and Password fields, enter the administrator’s username and password. In this case, these are amadmin and passw0rd, respectively.
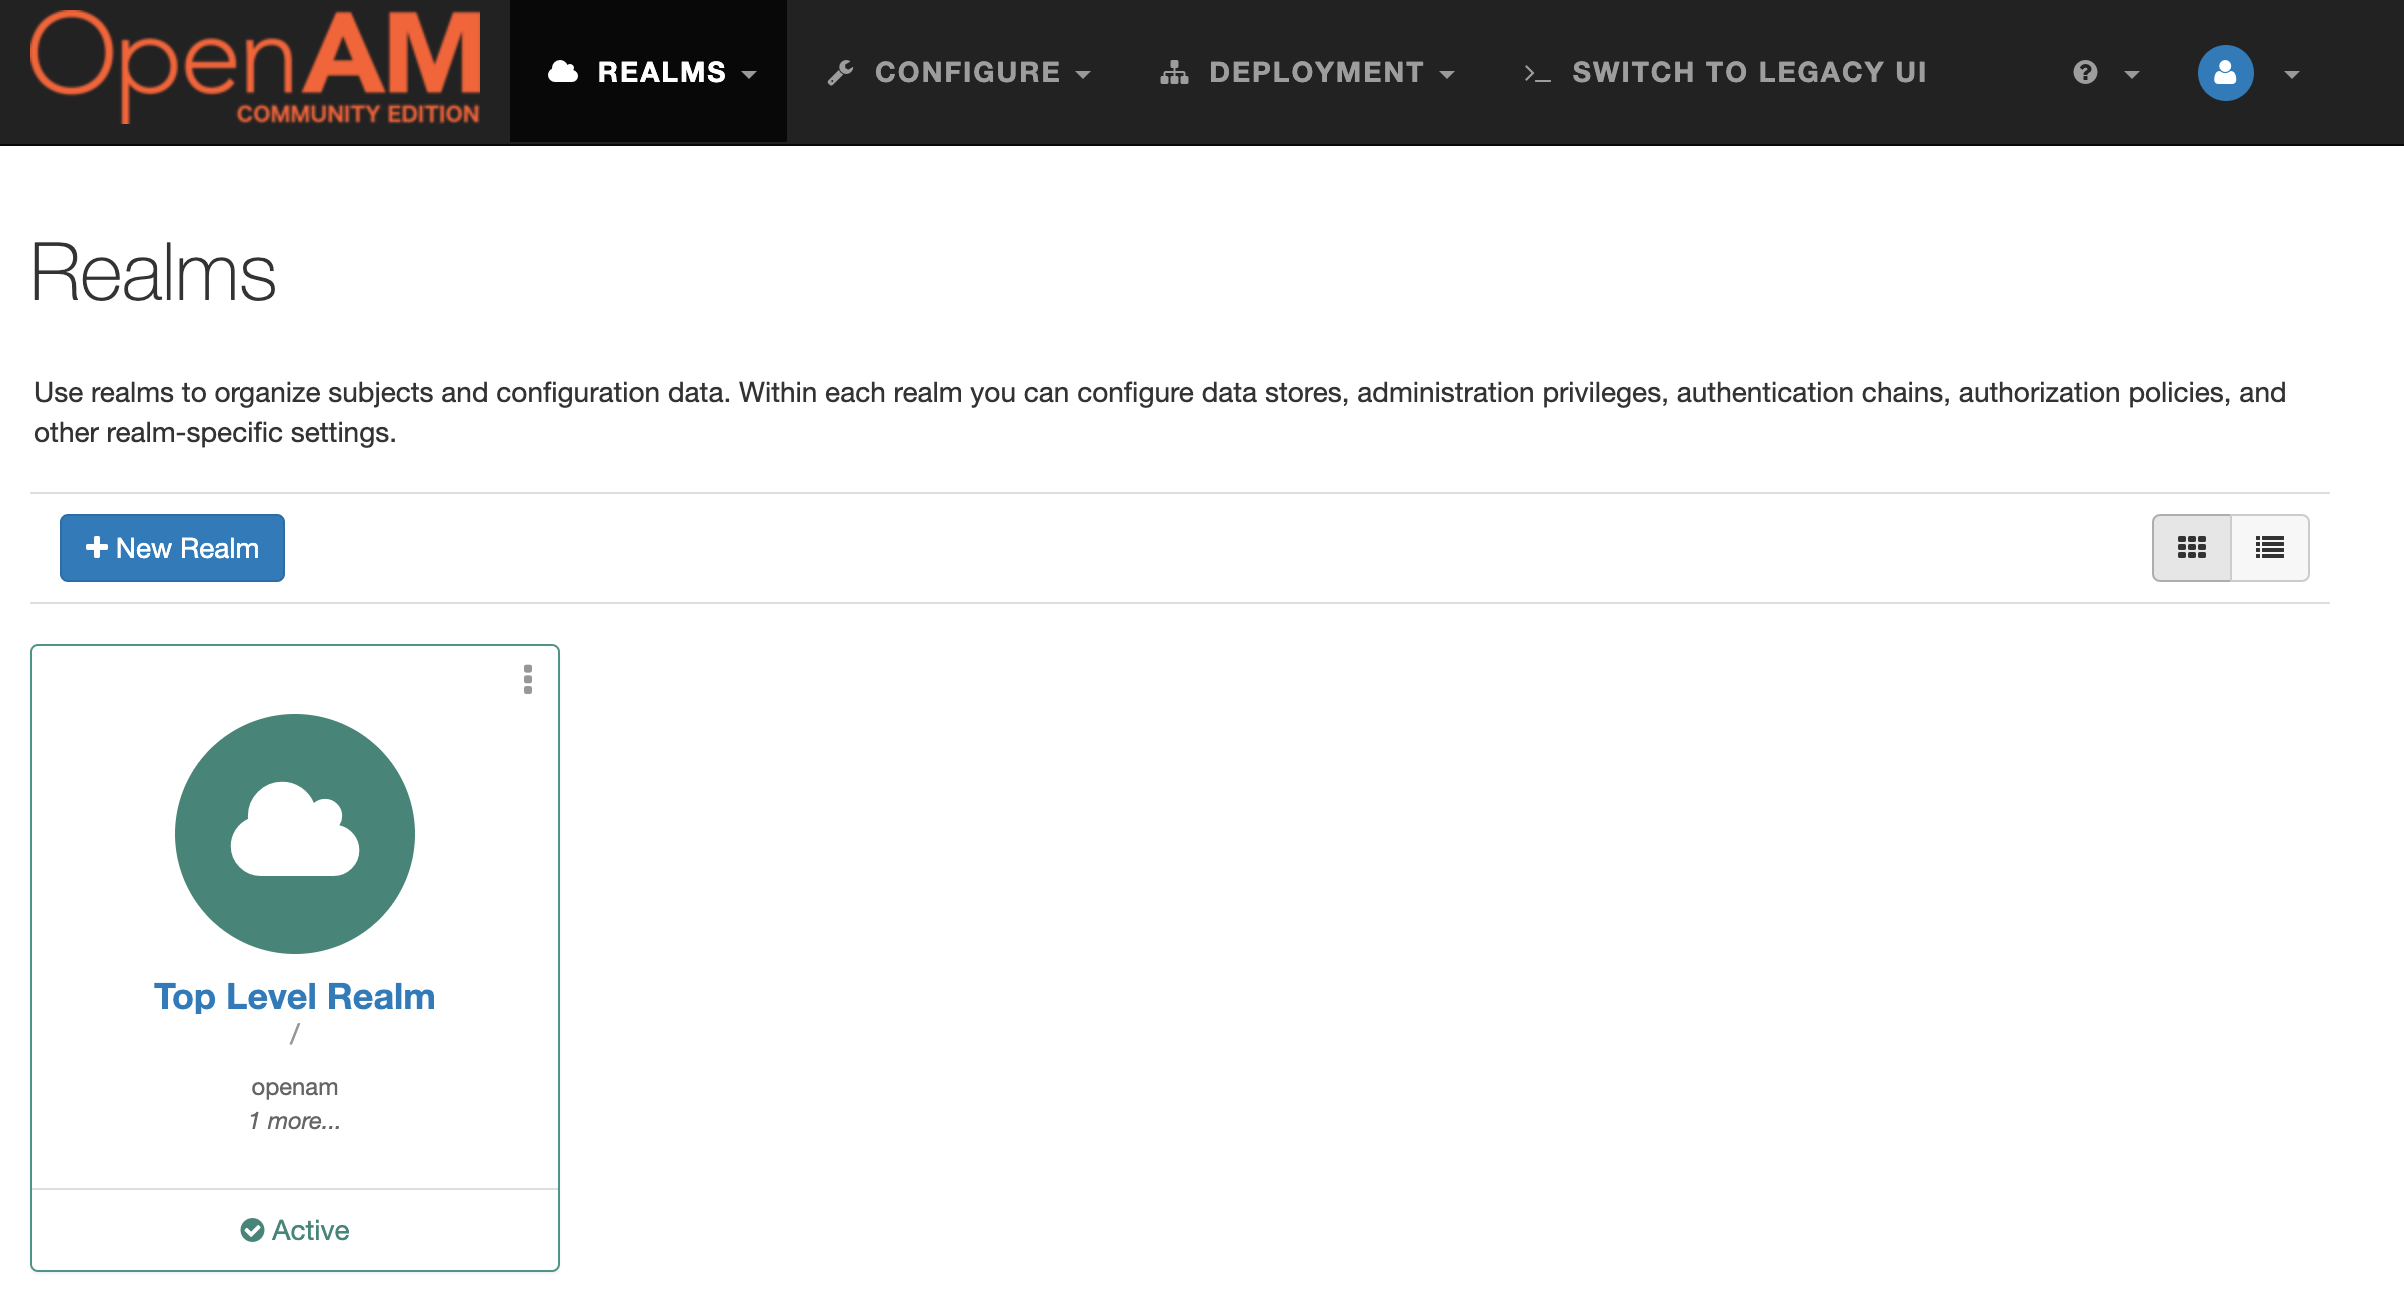
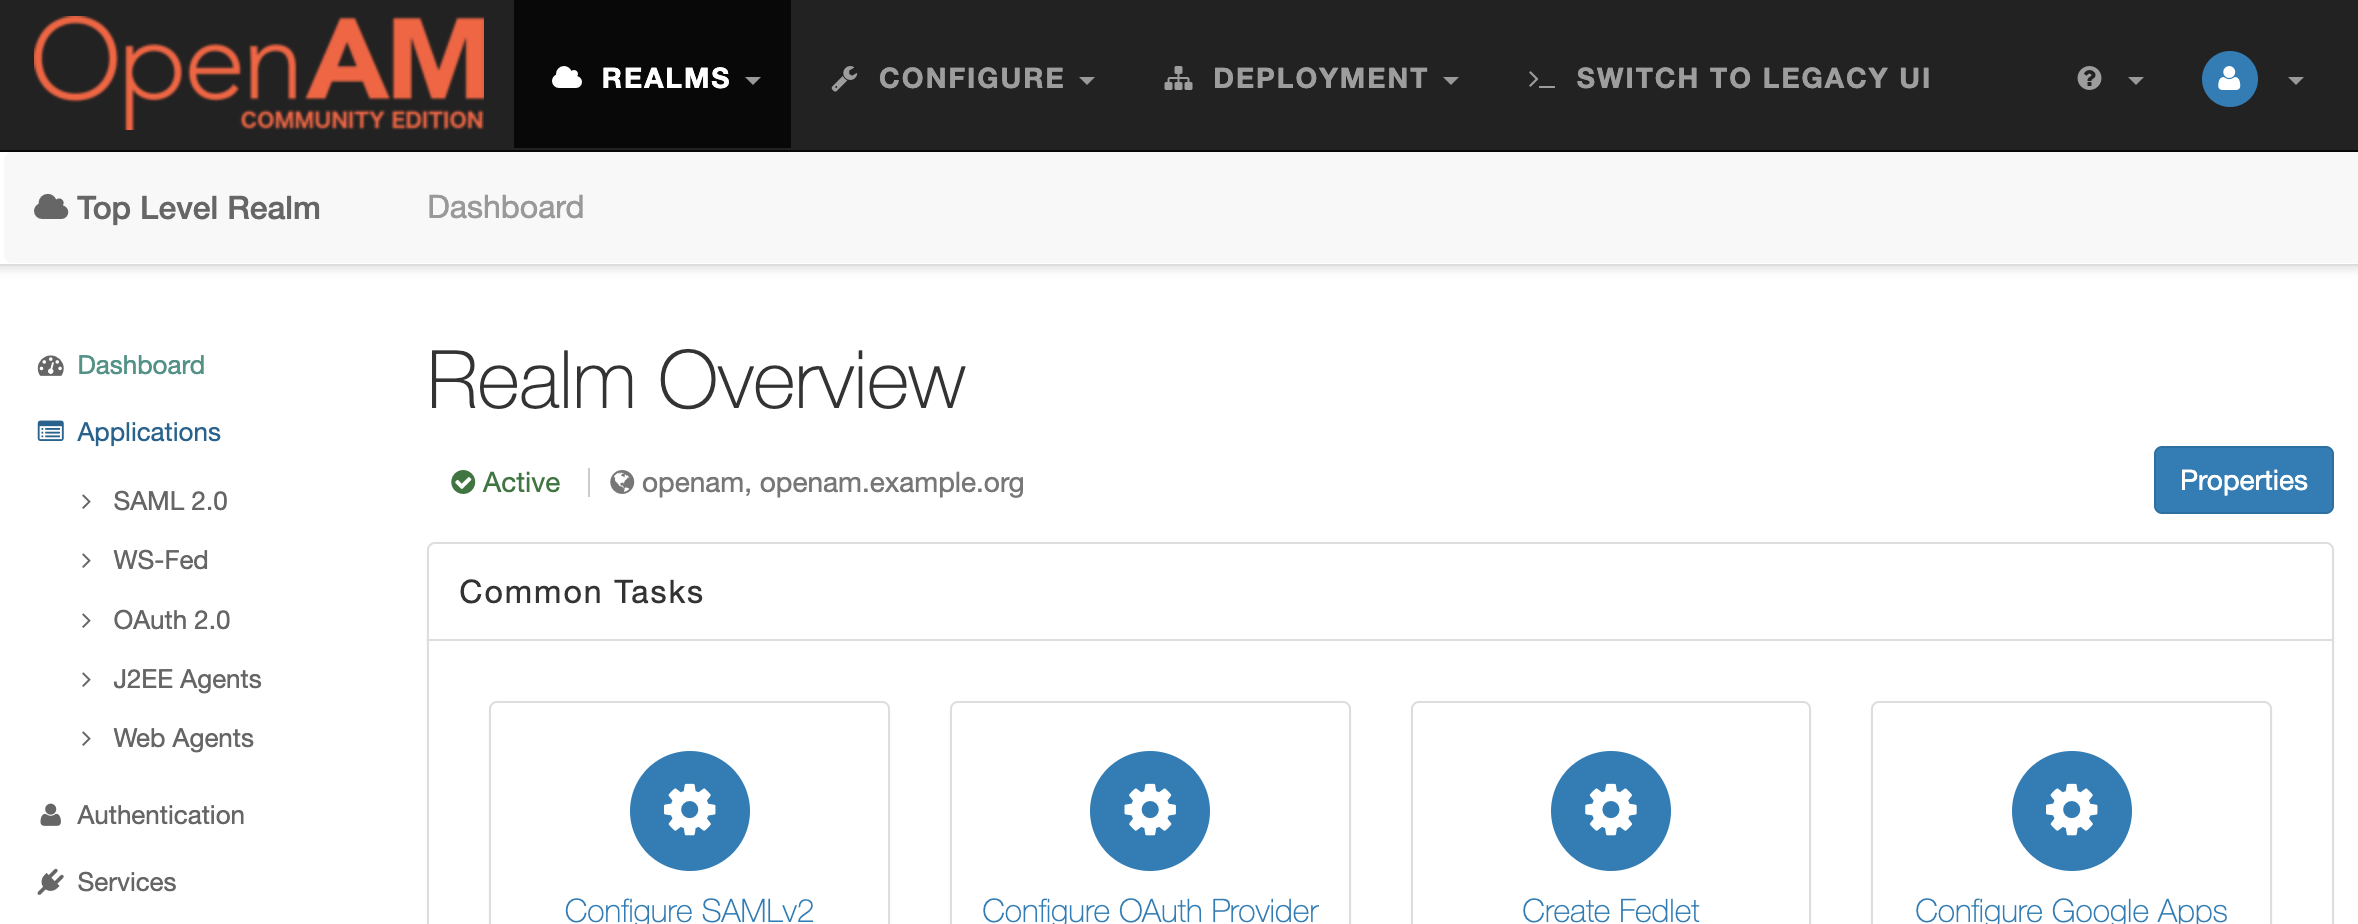
Next, Configure OAuth Provider.
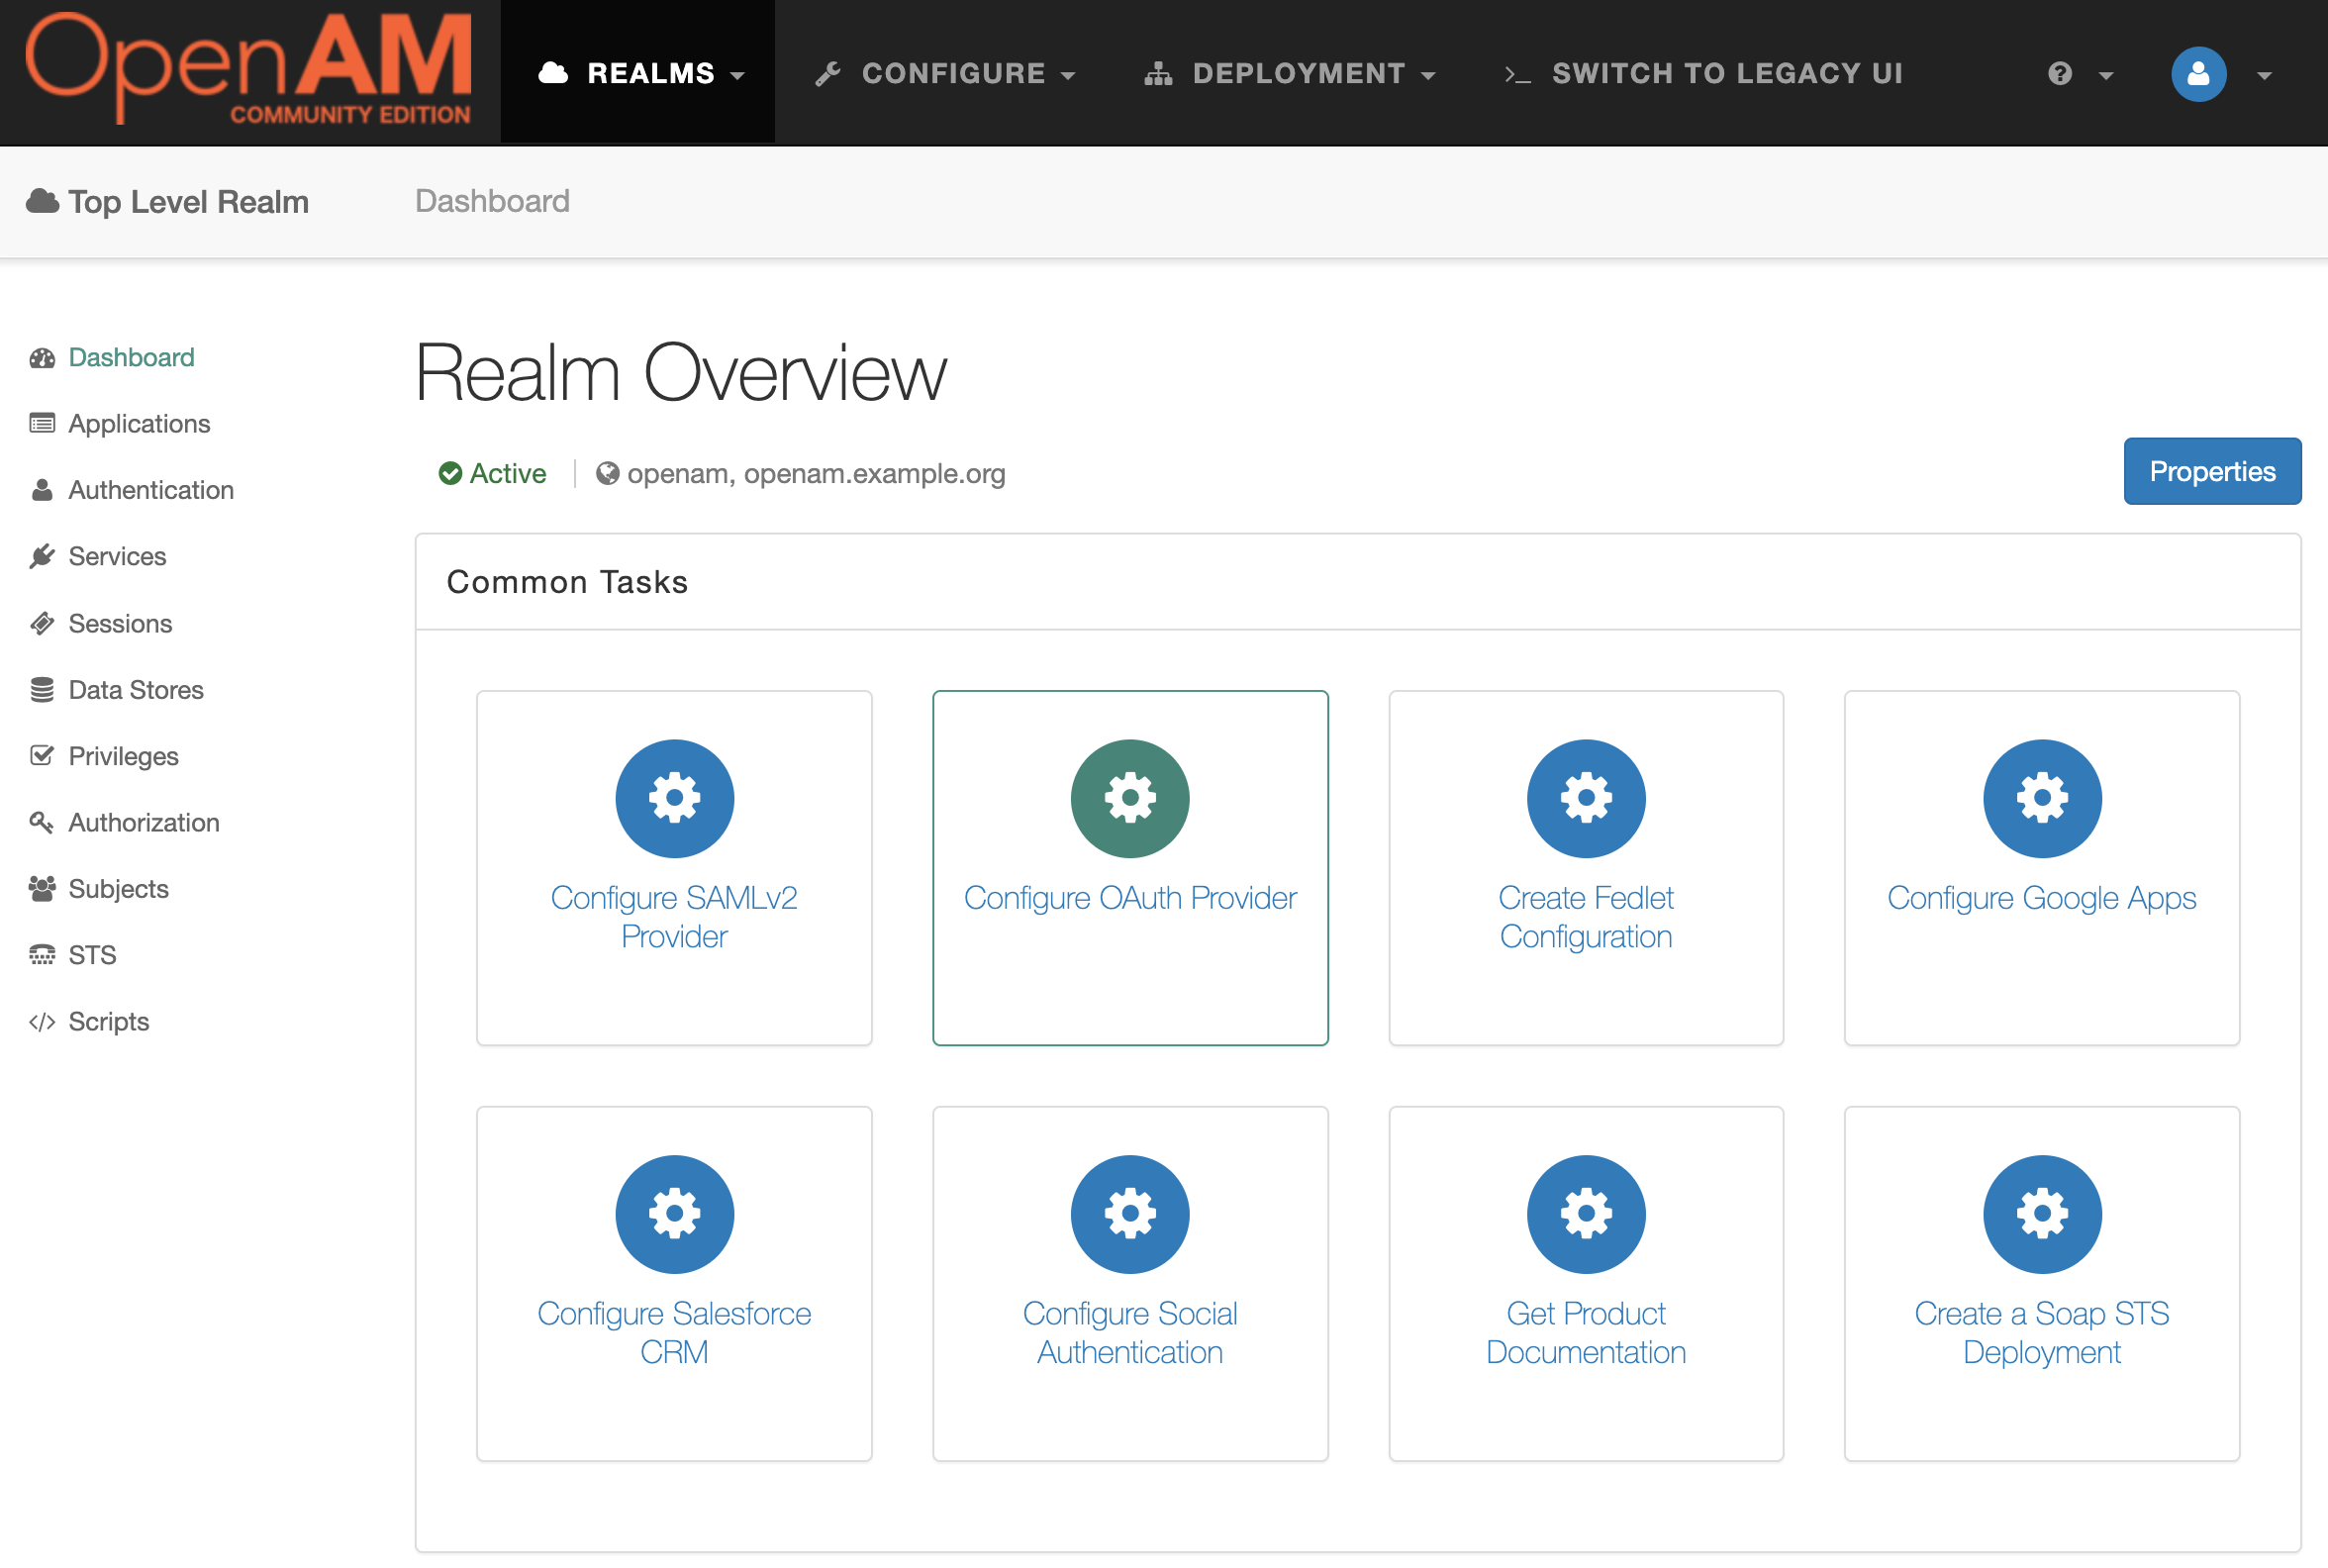
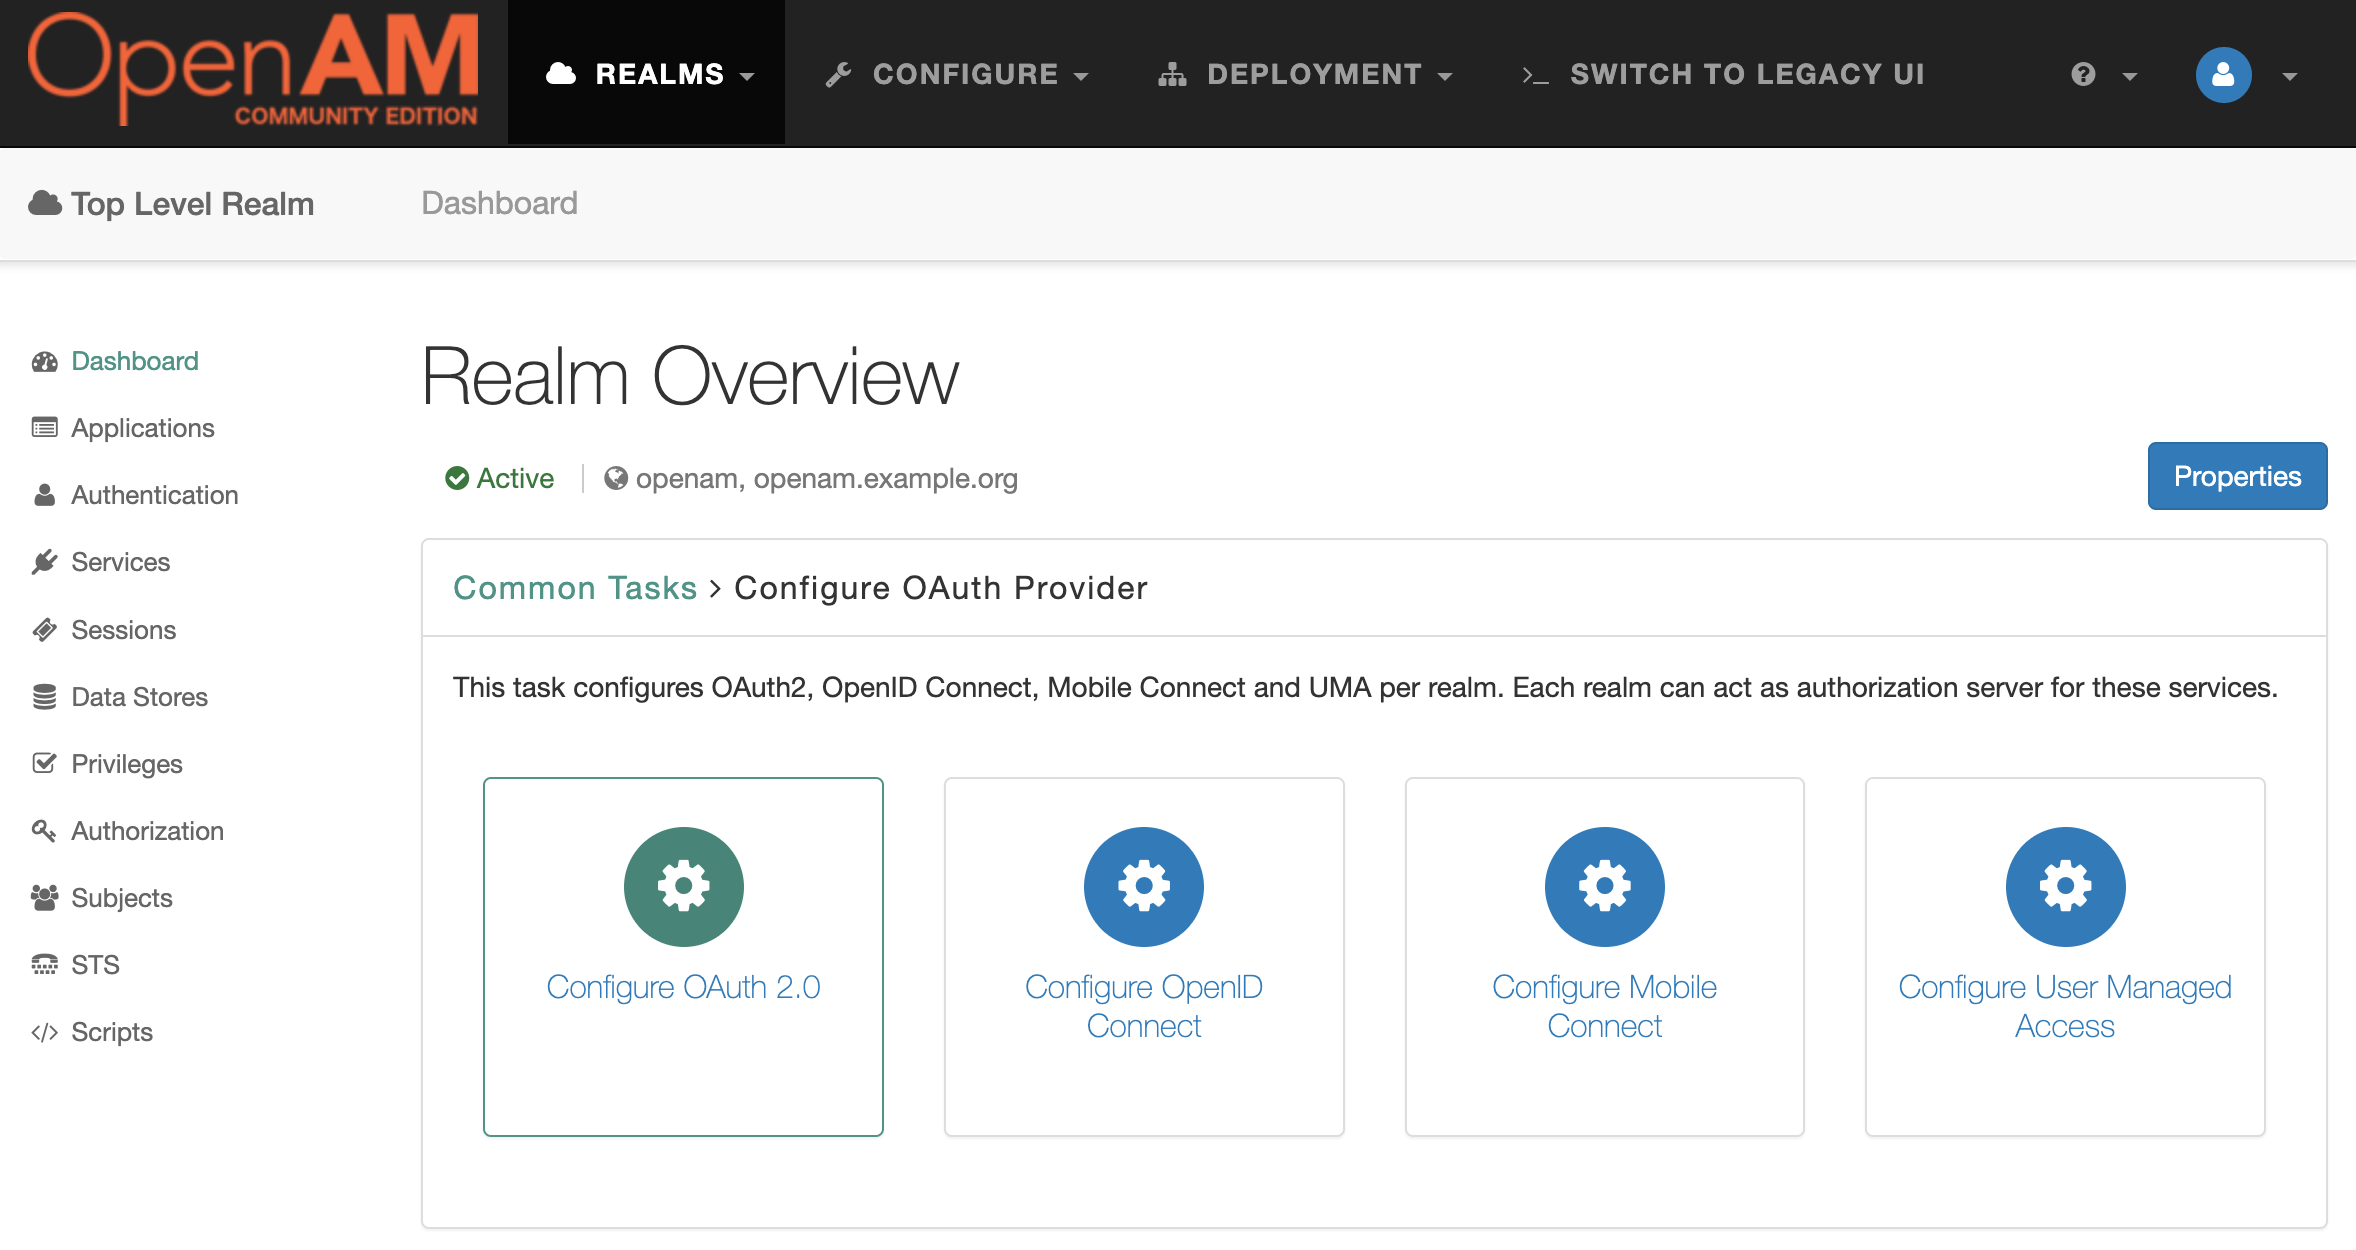
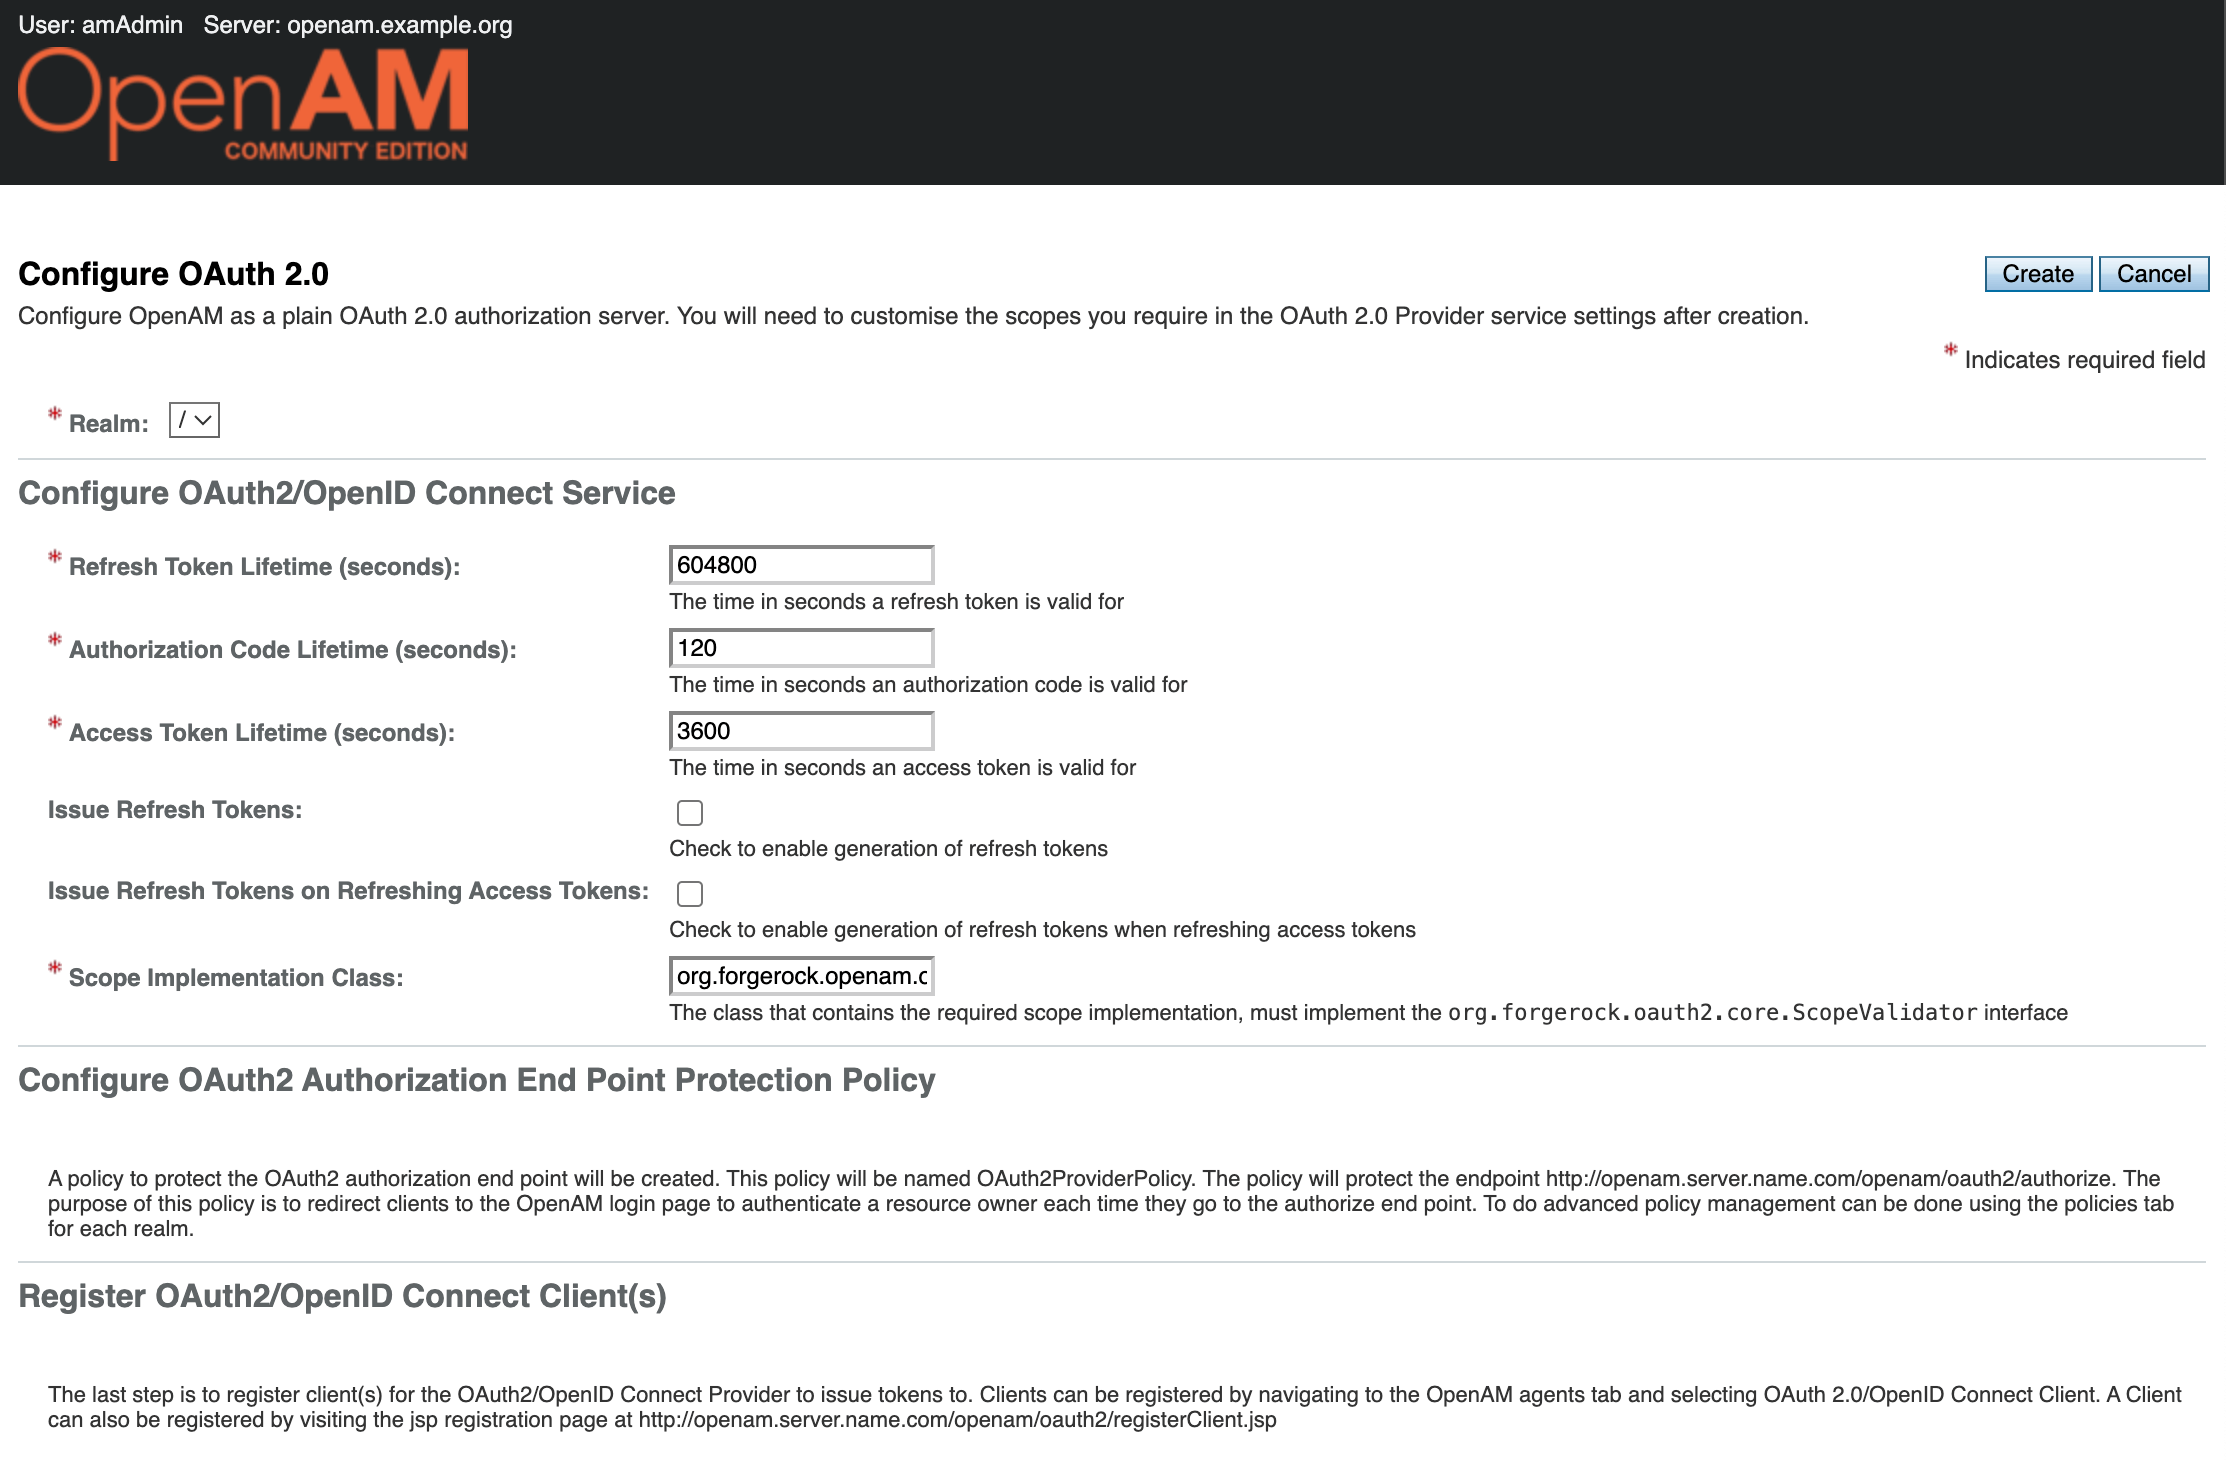
Then select the Configure OAuth 2.0 option.
In the form that opens, you can leave the default settings as they are. Click Create.
In the Realm settings, select Services from the menu on the left and open the OAuth2 Provider settings.
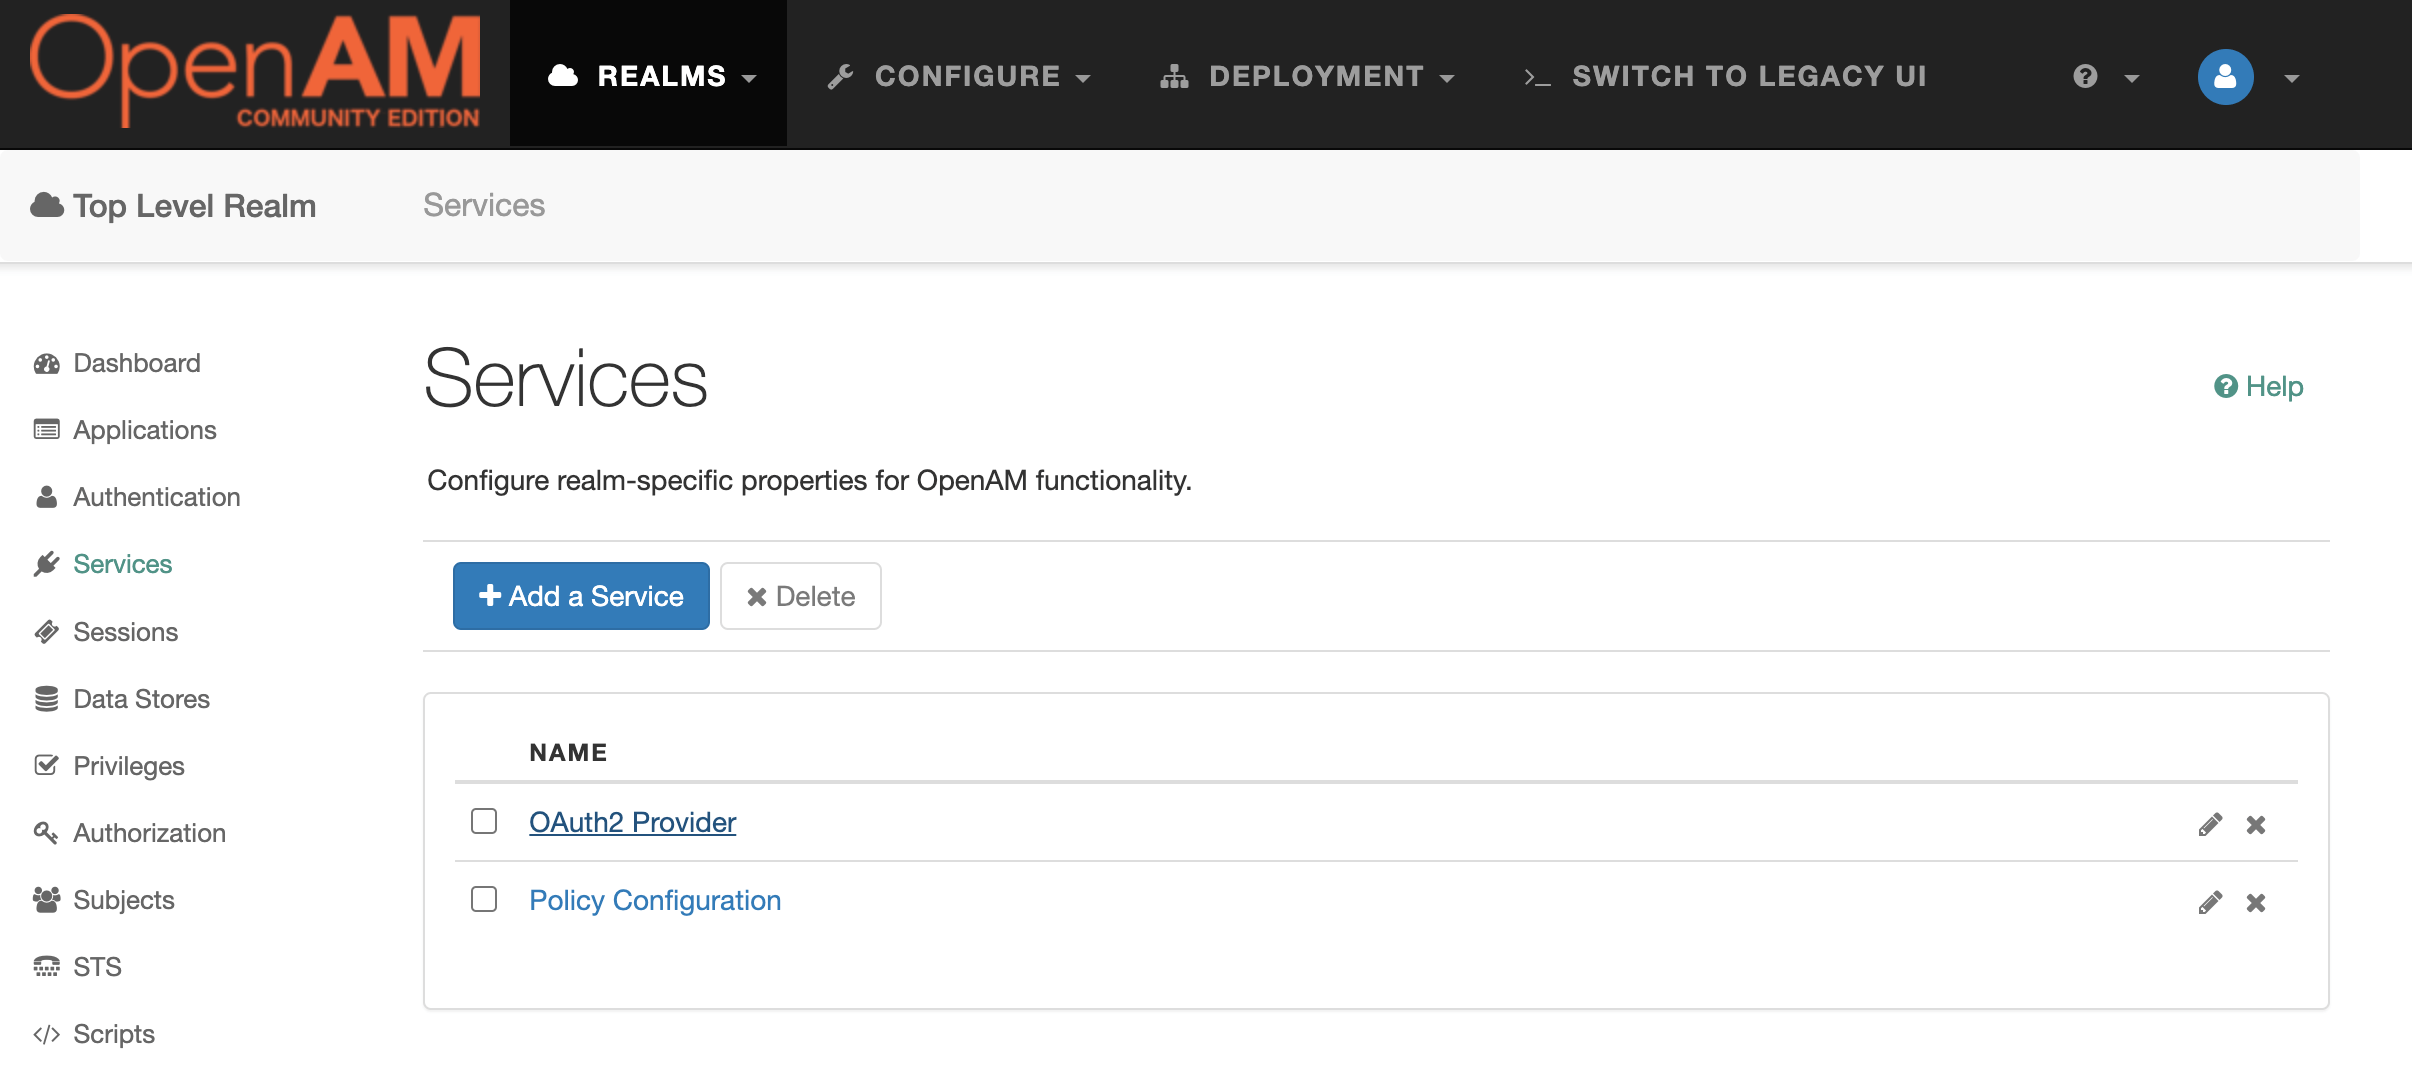
Add the value uid to the Scopes and Default Clients Scopes settings.
Add an OAuth 2.0 client application.
In the admin console, select Top Level Realm and, in the menu on the left, navigate Applications → OAuth 2.0.
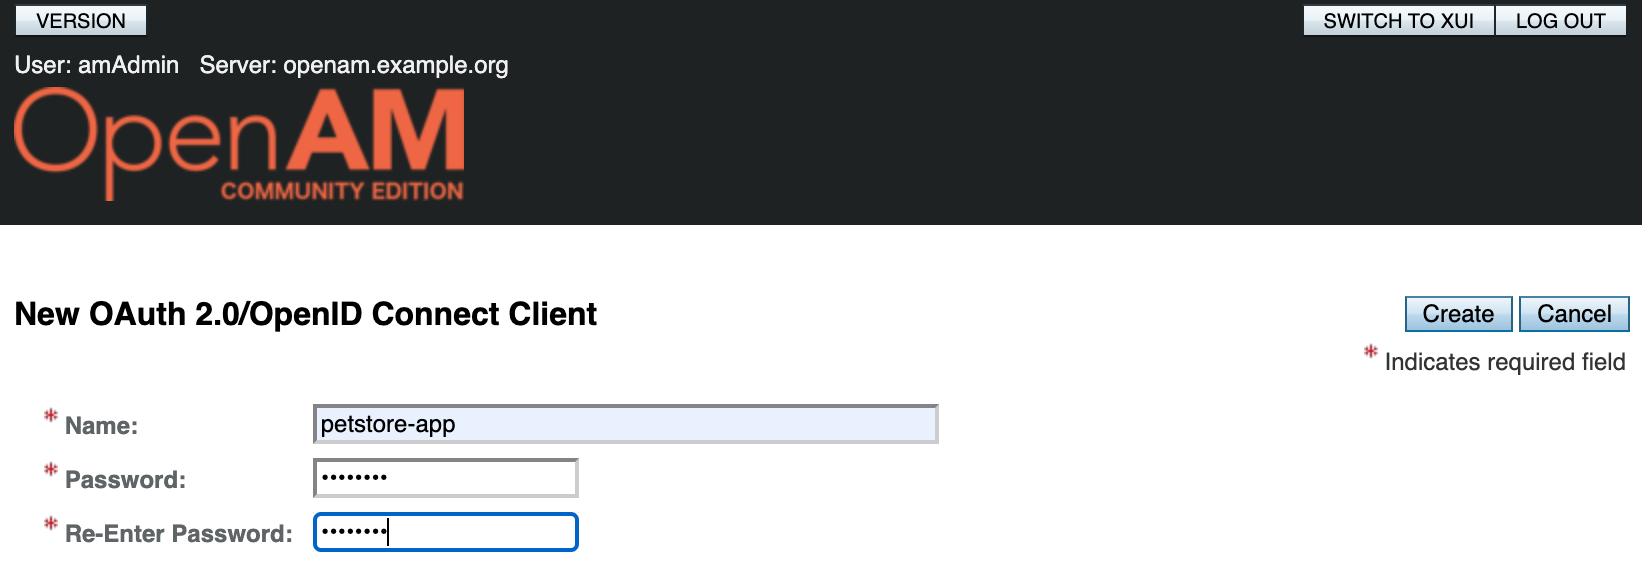
Create a new application with the name (client_id) petstore-app. Set the password (client_secret) to passw0rd.
Open the app settings and add the uid scope to the Scope(s) and Default Scope(s) settings. Save your changes.
Open the config.json configuration file and add the OAuth2ResourceServerFilter filter to the heap object. This filter will not allow unauthenticated requests to pass through. Add the filter to the route’s filter chain:
{
  "heap": [
    {
      "name": "OAuth2ResourceServerFilter",
      "type": "OAuth2ResourceServerFilter",
      "config": {
        "requireHttps": false,
        "providerHandler": "ClientHandler",
        "scopes": [
          "uid"
        ],
        "tokenInfoEndpoint": "${system['openam'].concat('/oauth2/tokeninfo')}"
      }
    }
  ],
  "handler": {
    "type": "Chain",
    "config": {
      "filters": [
        "OAuth2ResourceServerFilter"
      ],
      "handler": {
        "type": "Router",
        "name": "_router",
        "capture": "all",
        "config": {
            "directory": "${system['openig.base']}/config/routes",
          "openApiValidation": {
            "enabled": true,
            "failOnResponseViolation": false
          }
        }
      }
    }
  }
}
Restart OpenIG using the command:
docker compose restart openig
Let’s test an unauthenticated request:
curl -v -X GET --location "http://localhost:8081/petclinic/api/pets"
Note: Unnecessary use of -X or --request, GET is already inferred.
* Host localhost:8081 was resolved.
* IPv6: ::1
* IPv4: 127.0.0.1
*   Trying [::1]:8081...
* Connected to localhost (::1) port 8081
> GET /petclinic/api/pets HTTP/1.1
> Host: localhost:8081
> User-Agent: curl/8.7.1
> Accept: */*
>
* Request completely sent off
< HTTP/1.1 401
< WWW-Authenticate: Bearer realm="OpenIG"
< Content-Length: 0
< Date: Mon, 23 Mar 2026 07:25:27 GMT
<
* Connection #0 to host localhost left intact
Now let’s obtain an access_token from OpenAM for the application and test an authenticated request:
curl \
--request POST \
--user "petstore-app:passw0rd" \
--data "grant_type=password&username=demo&password=changeit&scope=uid" \
http://openam.example.org:8080/openam/oauth2/access_token
{"access_token":"c2270aa6-f1e1-47a2-a27f-3654af2f88d7","scope":"uid","token_type":"Bearer","expires_in":3599}%
 curl -v -X GET --location "http://localhost:8081/petclinic/api/pets" \
    -H "Authorization: Bearer c2270aa6-f1e1-47a2-a27f-3654af2f88d7"
Note: Unnecessary use of -X or --request, GET is already inferred.
* Host localhost:8081 was resolved.
* IPv6: ::1
* IPv4: 127.0.0.1
*   Trying [::1]:8081...
* Connected to localhost (::1) port 8081
> GET /petclinic/api/pets HTTP/1.1
> Host: localhost:8081
> User-Agent: curl/8.7.1
> Accept: */*
> Authorization: Bearer c2270aa6-f1e1-47a2-a27f-3654af2f88d7
>
* Request completely sent off
< HTTP/1.1 200
< Cache-Control: no-cache, no-store, max-age=0, must-revalidate
< Date: Mon, 23 Mar 2026 07:29:03 GMT
< Expires: 0
< Pragma: no-cache
< Vary: Origin
< Vary: Access-Control-Request-Method
< Vary: Access-Control-Request-Headers
< X-Content-Type-Options: nosniff
< X-Frame-Options: SAMEORIGIN
< X-XSS-Protection: 0
< Content-Type: application/json
< Transfer-Encoding: chunked
<
* Connection #0 to host localhost left intact
[{"name":"Leo","birthDate":"2010-09-07","type":{"name":"cat","id":1},"id":1,"visits":[],"ownerId":1},
....
More details on authorisation control are described in the article: https://github.com/OpenIdentityPlatform/OpenAM/wiki/How-to-Add-Authorization-and-Protect-Your-Application-With-OpenAM-and-OpenIG-Stack
Requests and Responses Validation
Let’s check that requests and responses from the Pet Clinic service comply with the OpenAPI specification.
Note. The Router object parameter
openApiValidation.failOnResponseViolation: falsemeans that invalid backend responses will be logged but not blocked. This is a safe mode for initial deployment: you can see deviations from the server response specification.After auditing the logs and resolving any discrepancies between the code and the specification, set this to
true. In this case, responses that violate the specification will not reach the client.
Restart the OpenIG container:
docker compose restart openig
Let’s check an invalid pet update request:
curl -v -X PUT --location "http://localhost:8081/petclinic/api/owners/10/pets/12" \
    -H "Content-Type: application/json" \
    -d "{
          \"birthDate\": \"2010-06-24\",
          \"badname\": \"Lucky\",
          \"type\": {
            \"id\": 2,
            \"name\": \"dog\"
          }
        }"
* Host localhost:8081 was resolved.
* IPv6: ::1
* IPv4: 127.0.0.1
*   Trying [::1]:8081...
* Connected to localhost (::1) port 8081
> PUT /petclinic/api/owners/10/pets/12 HTTP/1.1
> Host: localhost:8081
> User-Agent: curl/8.7.1
> Accept: */*
> Content-Type: application/json
> Content-Length: 157
>
* upload completely sent off: 157 bytes
< HTTP/1.1 400
< Content-Type: text/plain;charset=UTF-8
< Content-Length: 183
< Date: Mon, 23 Mar 2026 12:34:50 GMT
< Connection: close
<
* Closing connection
Request validation failed: [ERROR - Object instance has properties which are not allowed by the schema: ["badname"]: [], ERROR - Object has missing required properties (["name"]): []]
Check the OpenIG log; it contains a similar validation error message:
[http-nio-8080-exec-1] INFO  o.f.o.f.OpenApiValidationFilter -
  Request validation failed for PUT http://petclinic:9966/petclinic/api/owners/10/pets/12:
  [ERROR - Object instance has properties which are not allowed by the schema: ["badname"]: [],
   ERROR - Object has missing required properties (["name"]): []]
Adding API Throttling
Finally, let’s add API throttling to ensure that a single user does not exceed the allowed number of requests to the service per unit of time.
Add the ThrottlingFilter filter to the heap object in the config.json configuration file:
{
  "heap": [
...
    {
      "type": "ThrottlingFilter",
      "name": "ThrottlingFilter",
      "config": {
        "requestGroupingPolicy": "${context.accessToken.info.uid}",
        "rate": {
          "numberOfRequests": 5,
          "duration": "5 s"
        }
      }
    }
  ],
  "handler": {
    "type": "Chain",
    "config": {
      "filters": [
        "OAuth2ResourceServerFilter",
        "ThrottlingFilter"
      ],
      "handler": {
        "type": "Router",
        "name": "_router",
        "capture": "all",
        "config": {
            "directory": "${system['openig.base']}/config/routes",
          "openApiValidation": {
            "enabled": true,
            "failOnResponseViolation": false
          }
        }
      }
    }
  }
}
And add it to the filter chain
Please note the requestGroupingPolicy setting. This setting allows requests to be grouped for bandwidth control based on the user ID obtained from the access_token included in the Authorization header of the HTTP request.
Send multiple requests using the same access_token. If the limit is exceeded, OpenIG will return a 429 status code: Too Many Requests
curl -v -X GET --location "http://localhost:8081/petclinic/api/pets" \
    -H "Authorization: Bearer c2270aa6-f1e1-47a2-a27f-3654af2f88d7"
Note: Unnecessary use of -X or --request, GET is already inferred.
* Host localhost:8081 was resolved.
* IPv6: ::1
* IPv4: 127.0.0.1
*   Trying [::1]:8081...
* Connected to localhost (::1) port 8081
> GET /petclinic/api/pets HTTP/1.1
> Host: localhost:8081
> User-Agent: curl/8.7.1
> Accept: */*
> Authorization: Bearer c2270aa6-f1e1-47a2-a27f-3654af2f88d7
>
* Request completely sent off
< HTTP/1.1 429
< Retry-After: 1
< Retry-After-Partition: demo
< Retry-After-Rate: 5/5 SECONDS
< Retry-After-Rule: ThrottlingFilter
< Content-Length: 0
< Date: Mon, 23 Mar 2026 07:38:03 GMT
More details on configuring throughput control are provided in the article: https://github.com/OpenIdentityPlatform/OpenIG/wiki/How-to-Setup-API-Throughput-Control-(Throttling)
Conclusion
In this article, we configured validation of requests and responses against the OpenAPI specification, added authentication validation using the OAuth 2.0 protocol, and set quotas on the number of requests to the service per account.
You can read more about OpenIG configuration in the documentation at https://doc.openidentityplatform.org/openig/.